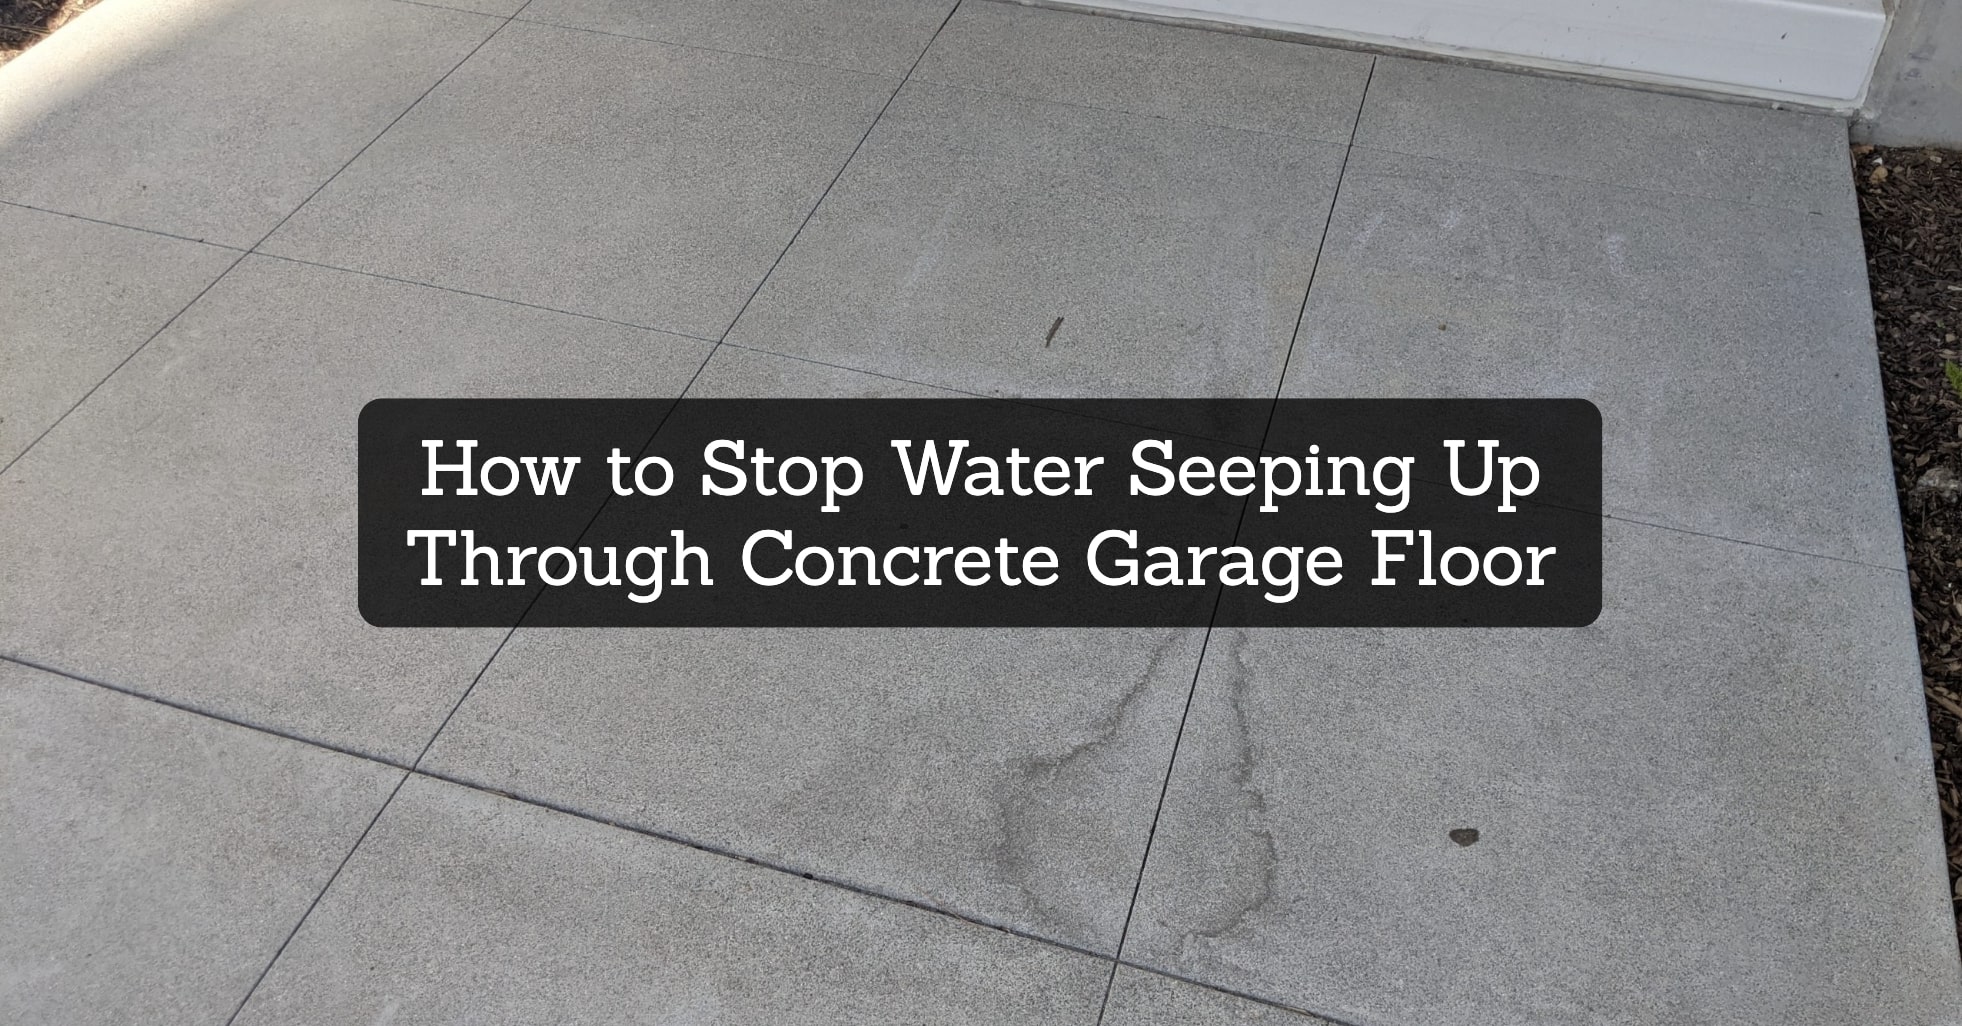
A damp garage floor is more than just an inconvenience; it can damage stored belongings, create a breeding ground for mold and mildew, and even signal deeper foundation issues.
If you’re facing this unwelcome visitor, don’t despair! With a little detective work and some DIY spirit, you can effectively stop water from seeping up and reclaim your dry and usable garage space.
For a more permanent solution, consider installing a garage floor drain system like the ones reviewed in this article on the best garage floor drain systems to buy.
Identifying the Culprit: Unveiling the Source of Your Garage Floor Woes
Before you embark on your moisture-banishing mission, it’s essential to uncover the true culprit behind the dampness plaguing your garage floor.
This detective work will ensure you choose the most effective solution and avoid wasted effort. Here’s a deeper dive into the suspects.
Slab Seepage: The Upward Intruder
- Symptoms: Puddles or damp patches appearing in the middle of the floor, away from walls and potential surface leaks. Concrete feels noticeably cold and clammy.
- Cause: Poor drainage around the foundation allows water to collect underground, pushing it upwards through the porous concrete slab. High water table in your area can also contribute.
- Clues: Check for sloping ground towards the garage, clogged gutters or downspouts, or recent heavy rain events.
You may also like: 7 Best Garage Concrete Floor Cleaners
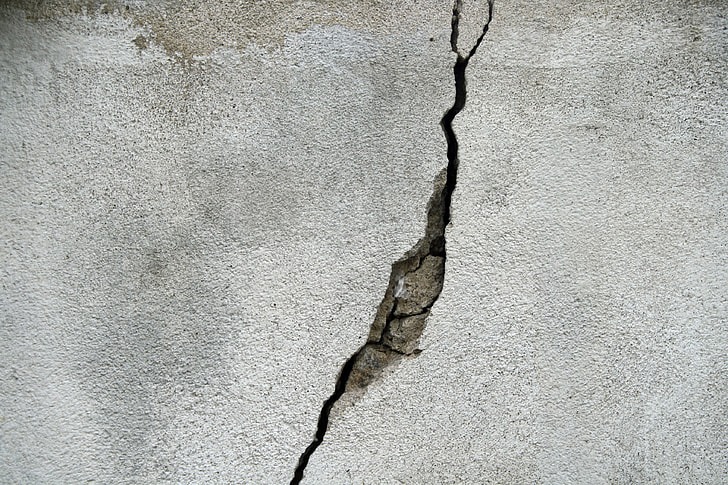
Cracks: The Unwanted Invitations
- Symptoms: Water tends to pool or seep through visible cracks in the floor, often concentrated near walls or doorways. Dampness may follow the crack pattern.
- Cause: Fissures in the concrete allow surface water from rain, car washing, or leaks to directly infiltrate the slab. Seasonal ground movement can also exacerbate existing cracks.
- Clues: Look for visible cracks in the floor, especially near expansion joints or areas exposed to temperature fluctuations.
Leaks: The Hidden Culprits
- Symptoms: Dampness often concentrated near walls, foundation, or plumbing fixtures. Puddles or water stains may follow the path of the leak. Musty odor might be present.
- Cause: Plumbing issues like broken pipes, faulty connections, or leaks in the foundation walls allow water to seep into the garage.
- Clues: Check for visible water stains, corrosion around pipes, or areas where pipes pass through the foundation. Consider fluctuations in water bills or dripping sounds.
Condensation: The Sneaky Intruder
- Symptoms: Moisture tends to form on cooler surfaces like the floor, walls, and tools, especially during humid weather. Musty odor might be present.
- Cause: Trapped humid air condenses on cooler surfaces within the enclosed garage, leading to moisture buildup. Poor ventilation and lack of airflow contribute to the problem.
- Clues: Check for signs of condensation on other surfaces, along with limited ventilation openings and lack of air circulation. Pay attention to seasonal variations in dampness levels.
These are just general clues, and the specific signs can vary depending on the severity and source of the moisture problem. Sometimes, a combination of factors might be at play. Don’t hesitate to seek professional help if you’re unsure about the culprit or the best course of action.
Diagnosing the Problem: Cracking the Code of Your Damp Garage Floor
Once you’ve identified the potential suspects based on the clues, it’s time to delve deeper and gather concrete evidence to diagnose the exact source of your garage floor woes. Here are some key steps.
Visual Inspection: Be an Observant Detective
- Grab a flashlight and get down low: Scrutinize the entire floor surface, paying close attention to:
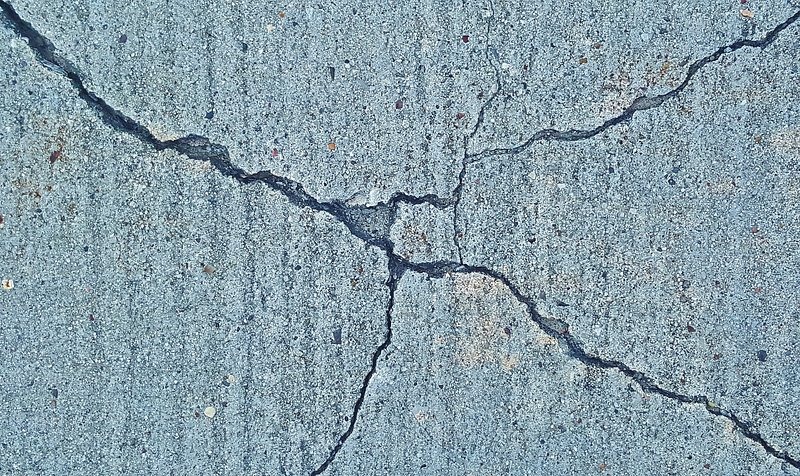
- Cracks: Look for their size, location, and pattern. Are they near walls, doorways, or expansion joints? Do they seem active (wider at the bottom) or stable?
- Water pooling: Identify areas where water tends to accumulate, even after recent rain or car washing. Does it follow specific channels or cracks?
- Dampness near walls: Check for moisture stains, efflorescence (white powdery deposits), or peeling paint, especially at the foundation line.
- Signs of leaks: Inspect around pipes, fixtures, and the foundation for water stains, corrosion, or visible leaks.
- Condensation clues: Look for signs of moisture on other surfaces like walls, tools, or windows, especially during humid weather.
Moisture Test: Quantify the Dampness
For a more objective assessment, conduct a moisture test using a calcium chloride test kit:
- Place the test dish on the concrete floor following the kit instructions.
- Seal the dish and leave it undisturbed for 24-72 hours.
- Measure the weight difference before and after, and consult the kit’s chart to determine the moisture content percentage.
- Interpreting the results:
- Below 4%: Concrete is dry and unlikely the source of moisture issues.
- 4-6%: Indicates moderate moisture, possibly due to condensation or minor leaks.
- Above 6%: Suggests significant moisture, likely from slab seepage or major leaks.
Professional Help: When DIY Isn’t Enough
In complex cases or if you suspect foundation issues, don’t hesitate to seek professional assistance. A waterproofing specialist can offer:
- Advanced diagnostic tools: Moisture meters, infrared cameras, and other tools can pinpoint hidden leaks and assess the extent of the problem.
- Expert analysis: They can interpret the findings and recommend the most appropriate solution based on the specific cause and severity of the issue.
- Peace of mind: Qualified professionals ensure quality repairs and guarantee their work, giving you peace of mind and a long-lasting solution.

Thorough diagnosis is crucial for successful mitigation. Don’t be afraid to get your hands dirty with a visual inspection and consider a moisture test for deeper insights. If the problem seems complex, seeking professional help can save you time, money, and frustration in the long run.
You may also like: 7 Best Black Garage Floor Paint Reviews
Tailored Solutions: Precision Strikes Against the Moisture Menace
Now that you’ve identified the culprit and diagnosed the severity of your damp garage floor woes, it’s time to unleash the perfect countermeasure. Remember, the most effective solution is a targeted response designed for the specific cause of the problem. Here’s a deeper dive into your arsenal.
Slab Seepage: Outmaneuvering the Upward Intruder
- French Drain: Imagine a trench filled with gravel, like a moat encircling your garage. This trusty ally collects and diverts groundwater away from the foundation, ideal for mild to moderate seepage. Think of it as a preventative measure, keeping the enemy at bay before it can infiltrate your territory.
- Sump Pump: For persistent foes like high water tables or heavy rainfall, consider the sump pump. Installed within the French drain pit, this tireless warrior actively pumps out collected water, ensuring your garage floor remains dry even during the fiercest moisture attacks.
- Vapor Barrier: Facing a formidable opponent like severe or persistent seepage? This is your heavy artillery. A professional will install a sheet membrane beneath the existing slab, creating an impenetrable barrier against rising moisture. Think of it as an invisible shield, deflecting enemy reinforcements before they can even reach the surface.
Cracks: Sealing the Weak Points in Your Defense
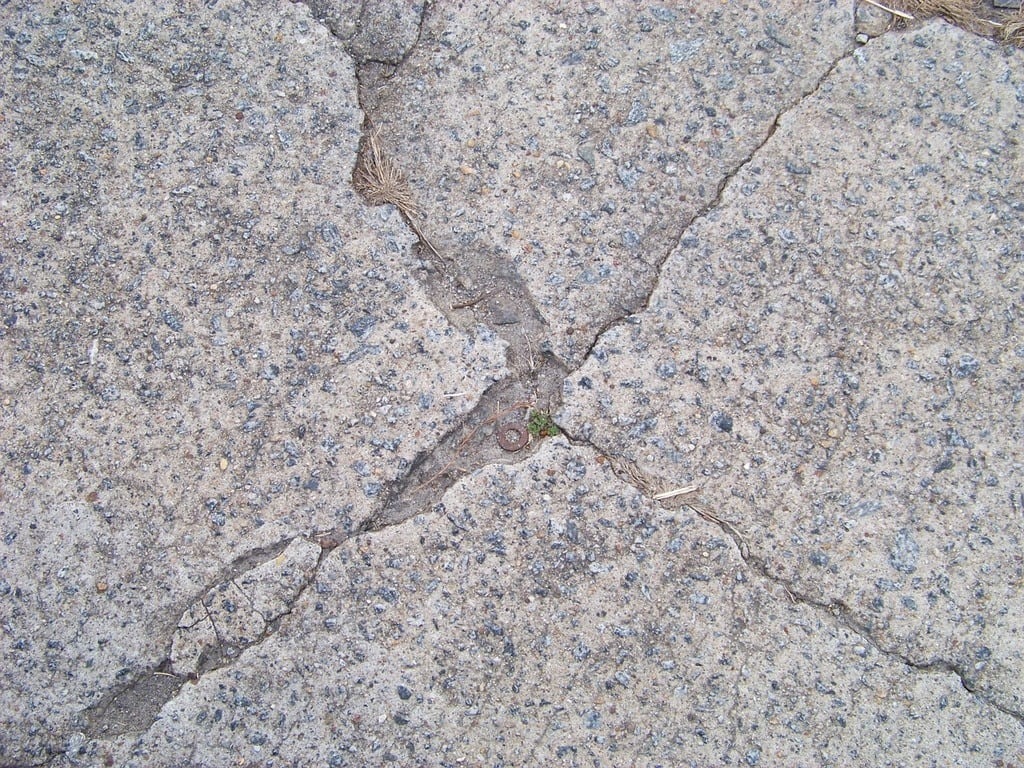
- Crack Repair: For small, stable cracks (think less than 1/8 inch), consider hydraulic cement or epoxy crack fillers – your frontline soldiers in this battle. But choose your weapons wisely! Ensure proper surface preparation and follow product instructions for a durable seal that holds firm against future moisture incursions.
- Expansion Joints: Larger cracks (greater than 1/8 inch) or those showing signs of movement require more adaptable allies. Specialized joint sealants, designed to accommodate expansion and contraction, are your best bet. Think of them as flexible sentries, adjusting to enemy maneuvers while maintaining a strong defense. Consulting a professional for proper assessment and sealant selection ensures you deploy the right troops for the job.
Leaks: Plugging the Source of the Onslaught
- Locate and Repair: This is your strategic intelligence mission before deploying any sealing forces. Identify the leak’s origin, whether it’s a faulty pipe, a foundation breach, or an appliance malfunction. Consider seeking professional help to pinpoint the enemy’s command center and address the leak at its core.
- Sealing: Once the leak is plugged and the source neutralized, it’s time to fortify your defenses. Use appropriate sealants around pipes, foundation penetrations, and other potential entry points. Think of them as reinforcements, sealing any remaining vulnerabilities to prevent future moisture infiltration.

Condensation: Disrupting the Moisture Monster’s Breeding Ground
- Improve Ventilation: Imagine opening windows and installing vents, creating a constant flow of fresh air that disrupts the moisture monster’s ability to thrive. Consider exhaust fans near areas of high humidity, like car washing zones, for targeted strikes.
- Dehumidifier: For persistent dampness, a dehumidifier is your heavy machinery. This tireless device actively removes excess moisture from the air, disrupting the enemy’s ability to amass its forces. Choose a size suitable for your garage and maintain proper settings for maximum effectiveness.
- Address Sources: Think of this as preventative maintenance. Minimize activities that contribute to humidity, like storing wet items, drying clothes, or washing cars inside the garage. Opt for alternative strategies like outdoor car washing or dedicated drying areas to deny the moisture monster its resources.
By choosing the right tools, deploying them strategically, and adapting your tactics to the specific enemy you face, you can reclaim your dry and functional garage space, leaving the moisture monster defeated and banished for good.
Additional Tips: Fortifying Your Defense Against the Moisture Menace
Having identified the culprit and deployed the right countermeasures, here are some additional tips to fortify your defense against moisture and ensure your garage floor remains a dry and welcoming space.
Grading: Keeping the Enemy at Bay
Imagine shaping the battlefield to your advantage. Ensure the ground surrounding your garage slopes away from the foundation at a minimum of 2% grade. This simple maneuver channels surface water away from your fortress, preventing it from pooling and seeping through cracks or the slab itself. Think of it as a moat without the water, keeping the enemy at bay before they can even reach your defenses.
Gutters and Downspouts: Diverting Reinforcements
Your gutters and downspouts are essential allies in this battle. Regularly clean and maintain them to ensure they efficiently collect and divert rainwater away from the foundation. Think of them as vigilant sentries, intercepting enemy reinforcements before they can join the main assault. Consider extending downspouts further away from the garage to maximize their effectiveness.
Sealant: Patching Up Minor Weaknesses
While your main defenses may be robust, even the greatest fortifications have minor vulnerabilities. Applying a penetrating concrete sealant on the garage floor surface adds an extra layer of protection against surface water intrusion. Imagine it as a thin layer of chainmail, deflecting stray arrows and minor attacks before they can breach your main defenses. Choose a sealant suitable for your specific climate and concrete type for optimal results.
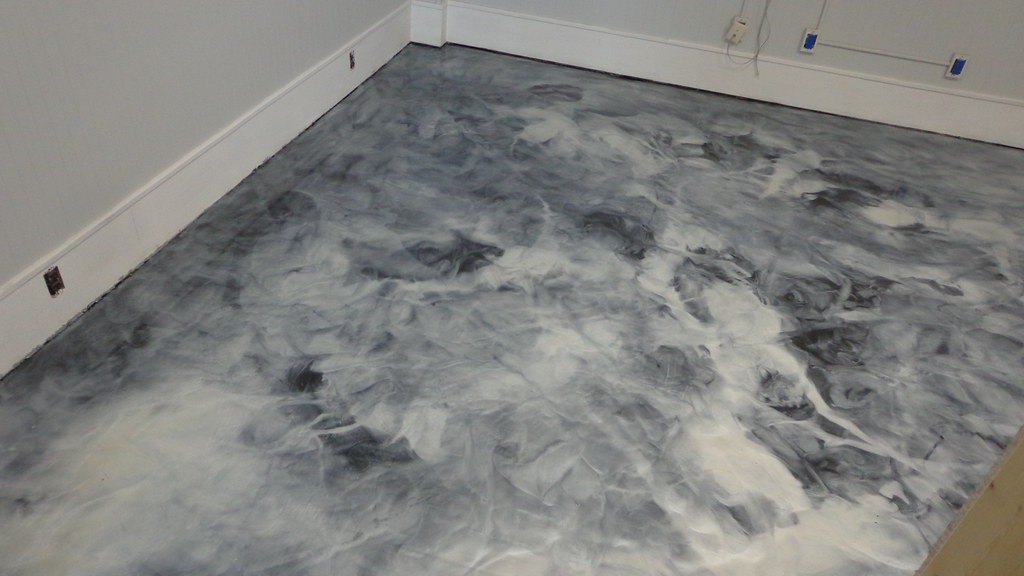
Epoxy Floor Coating: A Double-Edged Sword for Added Protection
An epoxy floor coating can be a powerful tool, offering two key benefits:
- Waterproofing: Similar to the sealant, it creates a seamless barrier against surface water intrusion, further strengthening your defenses. Think of it as a complete suit of armor, deflecting even heavy moisture attacks.
- Easier Cleanup: The smooth, non-porous surface makes cleaning spills and leaks easier and faster, preventing moisture from lingering and potentially seeping deeper. Imagine it as keeping your battlefield clean and tidy, denying the enemy any foothold to establish a permanent base.
However, remember that an epoxy coating won’t address underlying moisture issues like slab seepage or leaks. It’s a valuable addition to your defenses, but not a replacement for solving the root cause of the problem.
Remember: These are just a few additional tips to bolster your moisture defense strategy. Always prioritize addressing the primary source of the problem as outlined in the previous sections.
You may also like: 7 Best Garage Brooms for All Floor Types
Choosing the Right Concrete Floor: Building a Strong Foundation Against Seepage
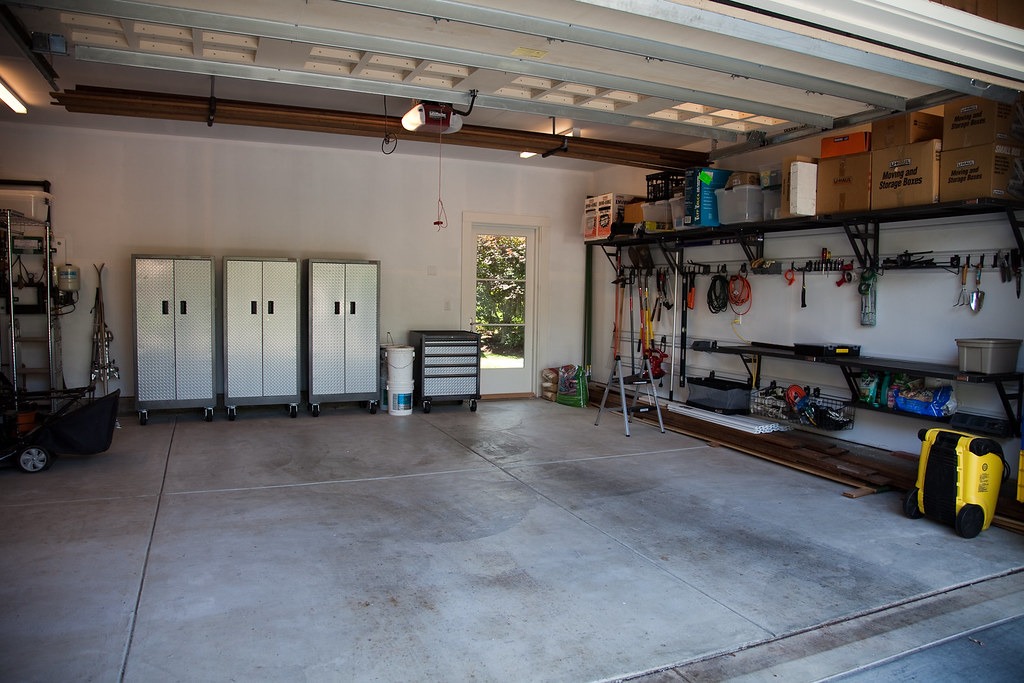
While addressing the source of water seepage is crucial, the type of concrete floor in your garage can also play a role in preventing future moisture issues. Here’s a breakdown of different options and their strengths.
Standard Portland Cement Concrete
- Pros: Most affordable option, readily available, strong and durable for general use.
- Cons: More susceptible to water absorption and cracking, especially if not properly sealed or cured.
Hydrophobic Concrete
- Pros: Contains water-repelling admixtures, reducing water absorption and permeability. Offers moderate resistance to seepage.
- Cons: Slightly more expensive than standard concrete, requires specific installation techniques to ensure effectiveness.
Integrably Waterproofed Concrete (IWC)
- Pros: Integrates waterproofing chemicals throughout the mix, offering enhanced resistance to water infiltration and pressure. Ideal for basements and areas with high water tables.
- Cons: Most expensive option, requires trained professionals for proper installation and mixing.
Polished Concrete
- Pros: Denser and less porous than standard concrete, offering improved resistance to water and stains. Requires minimal maintenance and provides a sleek, reflective finish.
- Cons: Initial polishing cost can be higher than other options, requires regular cleaning and maintenance to keep water resistance.
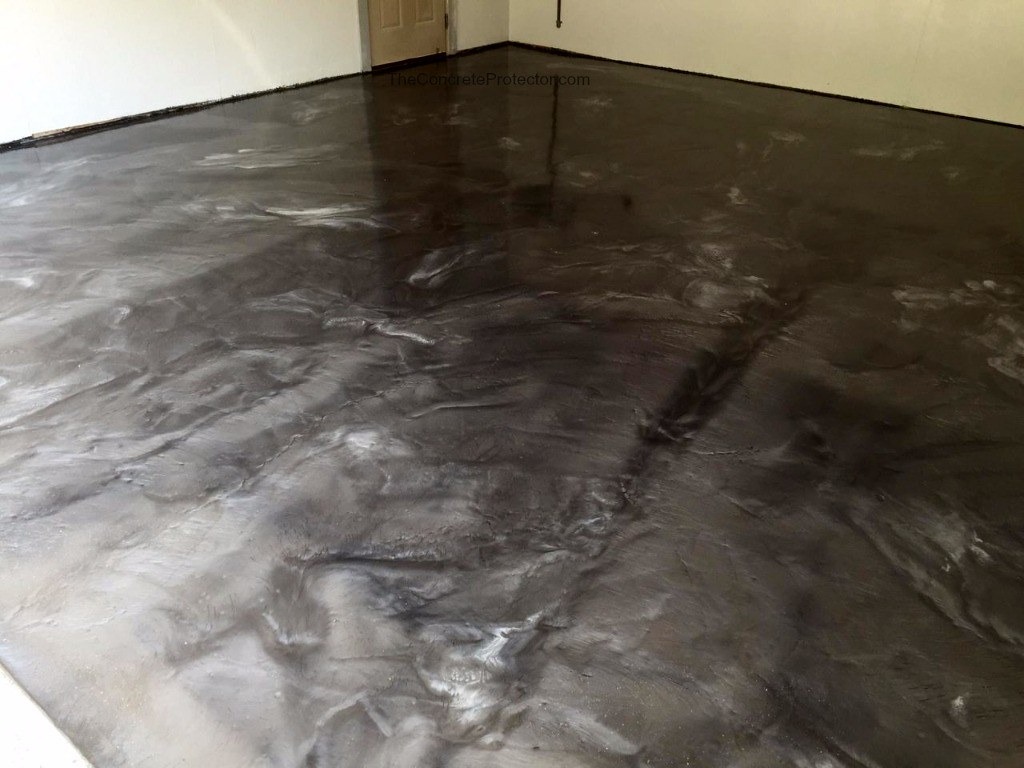
Epoxy Floor Coating
- Pros: Creates a seamless, waterproof barrier over existing concrete, ideal for renovations or adding an extra layer of protection. Easy to clean and maintain.
- Cons: Not a standalone solution for severe seepage issues, requires proper preparation of the existing concrete surface to ensure adhesion.
You may also like: 7 Best Gas Pressure Washers for Garage
Choosing the Right Type
Consider these factors when selecting a concrete floor for your garage:
- Budget: Standard concrete is most affordable, but IWC or polished options might be better investments for long-term water resistance.
- Severity of seepage: For mild concerns, standard concrete with sealant might suffice. Hydrophobic concrete or IWC offer enhanced protection for moderate to severe seepage.
- Desired aesthetics: Polished concrete provides a modern look, while epoxy offers customizable colors and finishes.
- Professional expertise: IWC and polished concrete typically require professional installation, while standard or epoxy options might be DIY-friendly.
After all, choosing the right solution depends on the specific cause of the water seepage. If you’re unsure, professional advice is always recommended for effective and long-lasting results. With the right approach, you can transform your damp garage into a dry and usable space, adding value and peace of mind to your property.

