Cracks in your garage floor can be an eyesore, but more importantly, they can lead to bigger problems down the line. Water infiltration, foundation issues, and even tripping hazards are all potential consequences of neglecting those pesky cracks.
But with a little effort and the right know-how, you can tackle those cracks like a pro and restore your floor to its former glory.
After repairing cracks in your concrete garage floor, enhance its appearance and durability with the best black garage floor paint options.
Before You Begin: Crack Detective ️
Before you roll up your sleeves and grab the patching materials, take a moment to analyze the cracks in your garage floor like a seasoned detective. This initial assessment will guide you towards the right repair approach and ensure a successful fix.
Crack Width:
- Hairline Cracks (less than 1/8 inch): These fine lines might seem insignificant, but they can still allow water infiltration and weaken the concrete over time. Consider them early warnings and address them promptly.
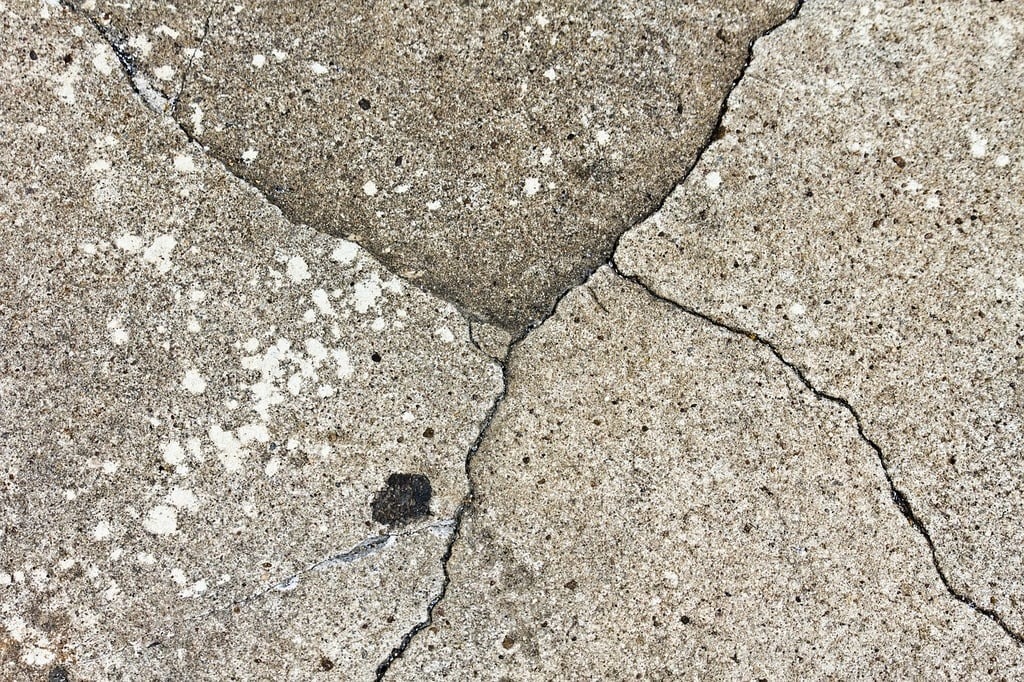
- Medium Cracks (1/8 inch to 1/2 inch): These require more attention and a sturdier repair method compared to hairline cracks. Pay close attention to their depth and any signs of movement.
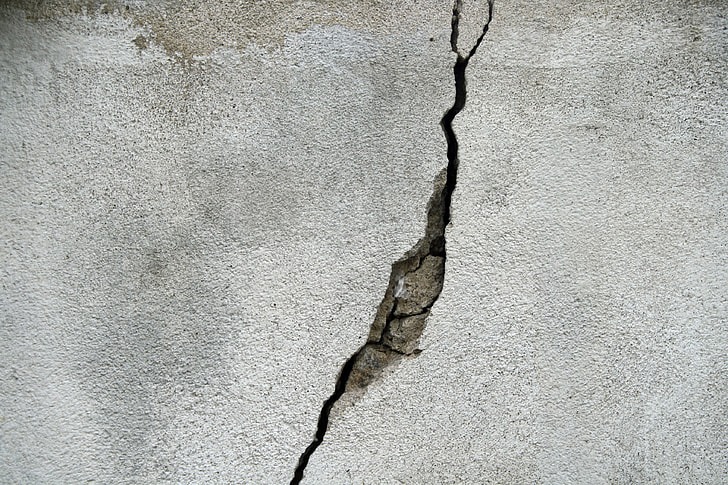
- Wide Cracks (over 1/2 inch): These cracks demand serious intervention. They indicate potential foundation issues or structural movement and might require professional evaluation before repair.
You may also like: 7 Best Laminate Flooring for Garage Reviews
Crack Depth:
- Surface Cracks: These cracks only affect the top layer of the concrete and can usually be addressed with simple patching materials.
- Deep Cracks: Cracks extending deep into the concrete slab require more robust repair methods, possibly involving backer rods and specialized patching materials.
Additional Clues:
- Movement: Do the cracks seem to be getting wider or actively moving? This could indicate underlying structural issues needing professional attention.
- Location: Cracks near the edges of the slab or around support beams might be more critical and require specific repair techniques.
- Moisture: Are the cracks damp or showing signs of water infiltration? Address any moisture sources before repairing to prevent future problems.
Tools for the Job
Once you’ve assessed the crack severity, gather your repair arsenal.
Crack detective kit
A flashlight, ruler, and magnifying glass can help you examine the cracks in detail.
The WopkDupk flashlight packs a punch! With a whopping 900000 lumens, multiple modes, long runtime, and handy features like power display, rechargeable battery, and even a USB port for charging devices, it’s got your lighting needs covered.
The adjustable focus and durable build add to its versatility, making it a bright and reliable companion. Furthermore, the included safety hammer and dry battery option offer extra peace of mind.

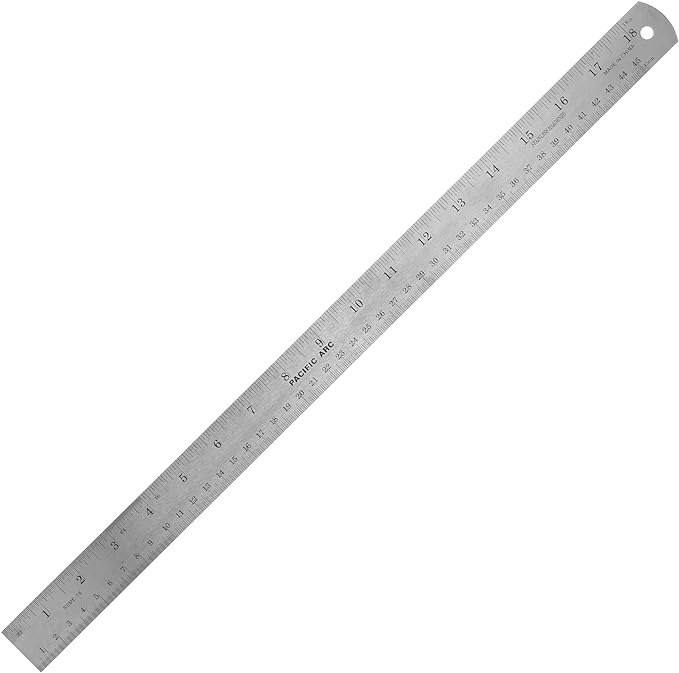
Level up your measuring game with the Pacific Arc 18 Inch Stainless Steel Ruler. This pro-grade tool boasts unbelievable durability and accuracy thanks to its high-quality, bend-resistant stainless steel construction.
This ruler empowers precise measurements in both inches and millimeters, eliminating conversion headaches with the handy chart on the back.
The Ebbnivs large magnifying glass is your one-stop shop for clear vision. See the tiniest details with 10x, 20x, and 45x magnification, all illuminated by bright LED lights.
The 5.5-inch lens offers a natural view, while the comfortable design and long battery life make it perfect for everything.

Cleaning crew
Wire brush, degreaser, and rags to remove dirt, debris, and oil, ensuring proper adhesion for the patching material.
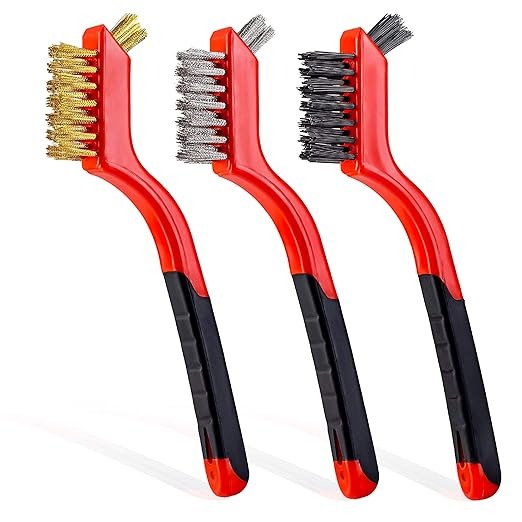
The Lavaxon 3-piece wire brush set packs a punch. The ergonomic handles and compact size make them comfortable and portable, while the quality build promises long-lasting cleaning power.
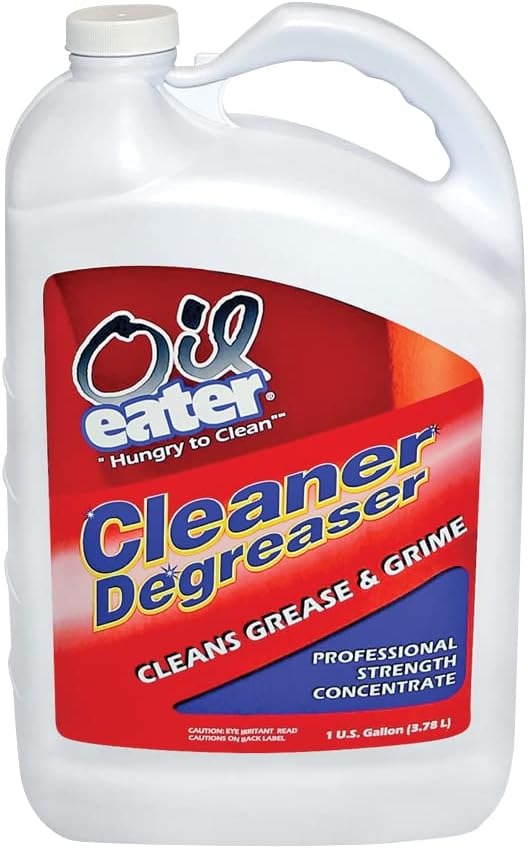
Conquer grease and grime anywhere with Oil Eater Original. This USDA-approved, biodegradable powerhouse dissolves tough stains on concrete garage floors. Gentle on the environment, and ultra-concentrated for long-lasting cleaning power.
Ditch the lint and streaks with the HeloMor extra-large microfiber cloths. This 3-pack tackles messes on any surface. Their super-absorbent material dries quickly and leaves surfaces sparkling clean.

Patching posse
Depending on the crack size and depth, you might need various patching materials like epoxy, concrete mix, or specialized crack repair products.
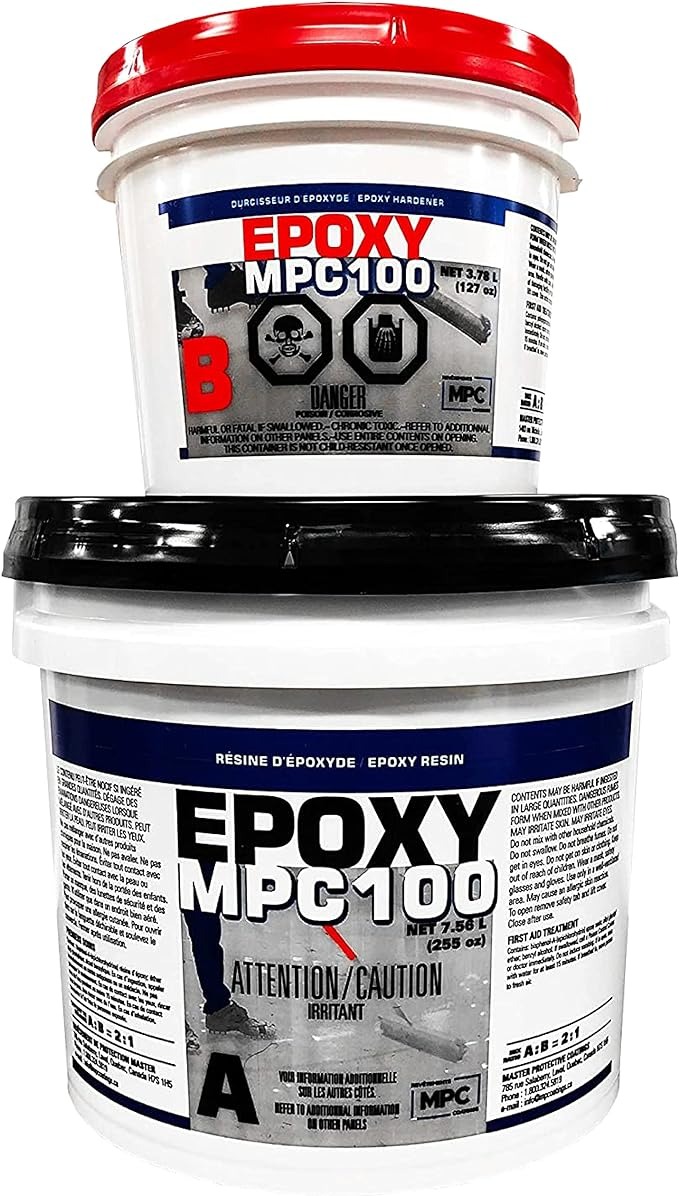
The 3-gallon kit of clear epoxy resin by Master Protective Coatings delivers industrial-strength protection and a high-gloss finish for your floors and countertops.
Its self-leveling formula simplifies application, making it ideal for DIYers and professionals alike. Whether you’re revamping your garage or any other place, this resin boasts extreme durability against wear, acids, and yellowing, ensuring a lasting shine.
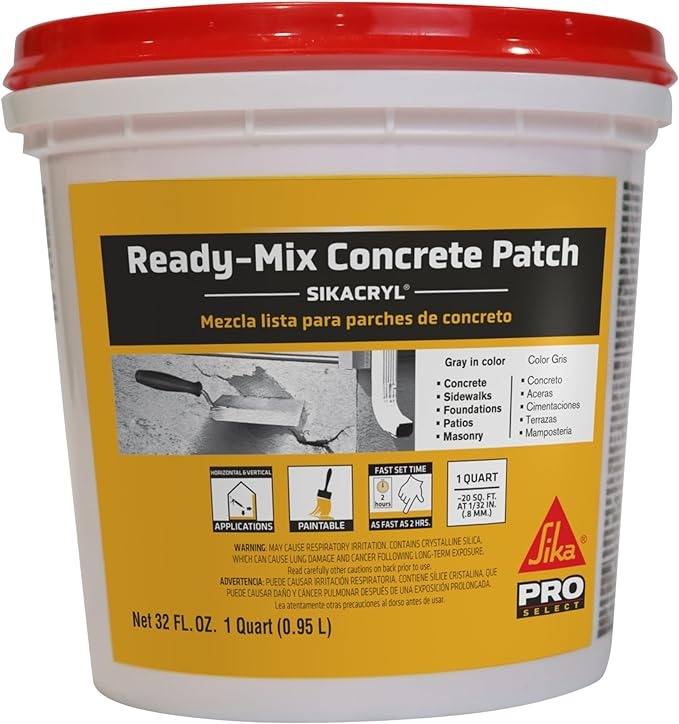
Patch up your concrete woes with ease. Sika’s Ready-Mix Concrete Patch tackles cracks and spalls with a durable, textured finish that seamlessly blends in. It’s easy to apply, cleans up with water, and boasts eco-friendly features.
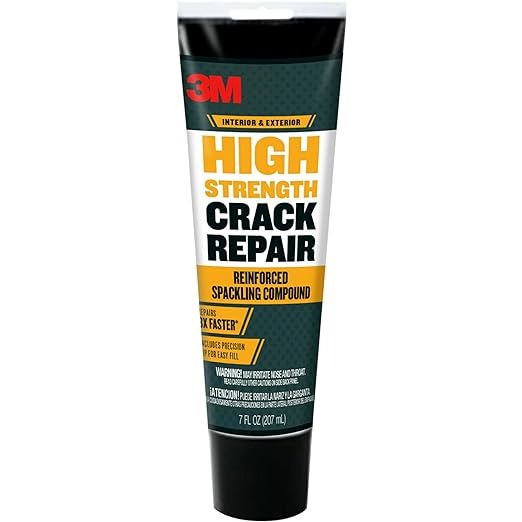
Tired of staring at those unsightly cracks? 3M’s High Strength Crack Repair tackles them head-on! Its precision tip delivers the fiber-reinforced compound directly into fractures, making repairs 3x faster than traditional spackle.
No shrinking, cracking, or sagging means a smooth, lasting fix for concrete floors. Moreover, it goes beyond small cracks, handling large holes and damaged surfaces in various materials.
You may also like: 7 Best Garage Floor Containment Mats for Winter
Smoothing operator
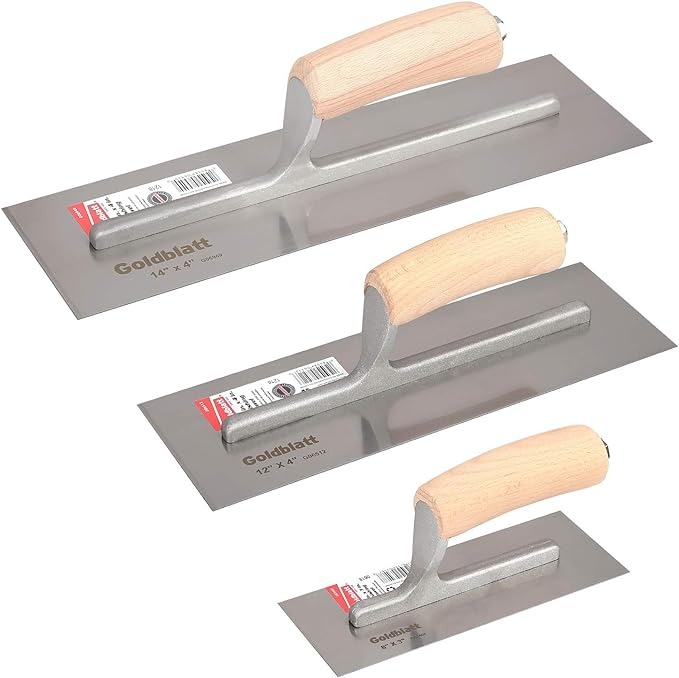
Trowel for applying and smoothing the patching material.
Master your DIY projects with the Goldblatt 3-piece trowel set. Featuring strong, lightweight carbon steel blades and comfy camel-back handles, these trowels tackle drywall, plaster, and concrete finishing with ease. Flat blades ensure a smooth finish, while the 3 sizes (14″, 12″, & 8″) offer versatility.
Sanding squad
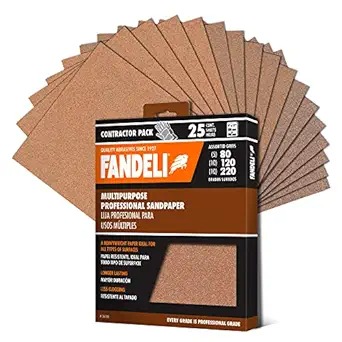
Sandpaper for a seamless finish after patching.
The Fandeli sanding paper pack offers versatility and value with 3 grits (80, 120, 220) across 25 sheets for concrete, metal, and more.
The heavy-duty, aluminum oxide construction tackles sanding jobs large and small, from furniture refinishing to paint removal. Its clog-resistant design and easy adaptability to hand and power sanders make it user-friendly, while the FSC-certified materials promote sustainability.
Sealant shield
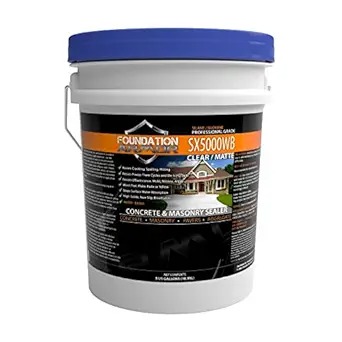
Concrete sealer for added protection against moisture and wear.
The 5-gallon DOT-approved SX5000 sealer protects concrete, brick, and pavers while preserving their natural look. Its water-based, breathable formula tackles moisture issues and resists damage from salt, mold, and staining, all for up to 10 years.
Remember, proper assessment is key to a successful repair. By understanding the type and severity of the cracks, you can choose the right tools and techniques to bring your garage floor back to life.
Repair Methods: Crack Fighters Assemble!
Hairline Cracks (The Sneaky Invaders)
These seemingly innocent lines might appear harmless, but don’t underestimate their potential for mischief. Left unchecked, they can become gateways for water infiltration, weakening the concrete over time. Here’s how to outsmart them.
- Operation V-Groove: Don your safety glasses and grab your trusty hammer and chisel. Carefully widen the crack into a V-shape, creating more surface area for the patching material to adhere to. Remember, a strong foundation is key to a lasting repair.
See clearly and safely over your prescription glasses with PACIFIC PPE’s Safety Goggles. Made of durable polycarbonate with anti-fog and scratch-resistant coatings, these goggles shield your eyes from impacts, chemicals, and even UV rays. The adjustable design guarantees a snug fit, while the large frame comfortably accommodates existing glasses.

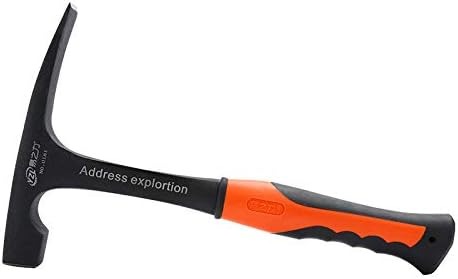
Conquer tough tasks with the Forged Brick Hammer. Featuring a perfectly balanced, forged steel head for powerful strikes, this hammer absorbs 70% of impact vibration thanks to its shock-reducing grip, saving your muscles from strain.
- Dust Busters: It’s cleaning time! Eliminate any dirt, dust, or loose debris lurking in the crack and its surroundings with a stiff brush and degreaser. Think of it as preparing the battlefield for a flawless victory.
- Patching Power: Choose your weapon wisely! Select a patching material specifically designed for hairline cracks, such as epoxy or specialized concrete mixes. Follow the manufacturer’s instructions meticulously for mixing and application. Fill the V-groove completely, leaving no room for the enemy to return. Remember, a smooth trowel finish ensures a seamless repair.
- Curing Crusade: Patience is your virtue! Allow the patch to cure completely as per the instructions. Rushing this step is like celebrating before the final blow – it can lead to a weakened repair and future battles.
- Sanding Savvy: For an invisible victory dance, use sandpaper to lightly smooth the cured patch. Consider it a touch-up to ensure a flawless, triumphant floor.
- Sealing Shield: Add an extra layer of protection against moisture and future skirmishes by applying a concrete sealer following the product’s instructions. Think of it as building an impenetrable fortress for your newly repaired floor.
Wider Cracks (The Formidable Foes):
These cracks demand a more strategic approach. They’re deeper, wider, and pose a more significant threat to the structural integrity of your floor. Don’t worry, with the right tactics, you can overcome them:
- Cleaning Crew: Just like with hairline cracks, start by removing any dirt, debris, and oil, ensuring a clean battleground for the repair. Remember, a clean foundation is essential for a successful outcome.
- V-Groove Expansion: Widen the crack into a deeper V-shape, paying close attention to its overall depth. This allows for better penetration of the patching material, leading to a more robust repair.
- Backer Rod Reinforcement (For Deep Cracks Only): For cracks exceeding 1/2 inch in depth, consider using a backer rod. Imagine it as a supportive ally, filling the void within the crack and preventing shrinkage, ultimately strengthening the repair.
- Specialized Patching: Choose a patching material specifically formulated for wider cracks, offering superior strength and flexibility. Think of it as your heavy artillery, designed to withstand even the most formidable foes. Follow the application instructions meticulously, ensuring proper filling and smoothing. Remember, a well-executed patch is key to lasting peace.
- Layer Up (For Deep Cracks Only): If the crack is particularly deep, consider applying the patching material in multiple layers, allowing each layer to cure completely before adding the next. This ensures proper filling and prevents the patch from shrinking or cracking under pressure. Think of it as a layered defense, fortifying your repair against future attacks.
- Sanding and Sealing: Similar to hairline cracks, you can sand the cured patch for a smooth finish and apply a concrete sealer for added protection. Consider it the final polish on your armor, ensuring your floor is not only strong but also aesthetically pleasing.
Remember, these are general guidelines. Always consult the specific instructions for your chosen patching materials and don’t hesitate to seek professional help for complex or extensive cracks. With the right knowledge, tools, and a bit of determination, you can transform your cracked battlefield into a smooth, victorious garage floor!
You may also like: 7 Best Gas Pressure Washers for Garage
Pro Tips: Conquering Cracks Like a Pro
Safety First, Always
- Breathe Easy: Ensure proper ventilation by opening windows or using fans before and during the repair process. Dust and fumes from patching materials can irritate your lungs, so prioritize fresh air circulation.
- Geared Up: Don’t underestimate the power of protection! Wear gloves to shield your hands from sharp edges and harsh chemicals, and safety glasses to safeguard your eyes from dust and debris. Remember, a prepared warrior is a safe warrior.
Shield your hands from tough tasks with Wells Lamont’s Heavy Duty PVC Coated Work Gloves. The liquid- and chemical-resistant PVC coating tackles adhesives, detergents, and even diluted acids, while the durable construction withstands cuts, abrasions, punctures, and heat.
Inside, a comfortable cotton lining ensures easy on/off and warmth, and the textured grip keeps tools securely in hand.

Material Mastery
- Concrete Champions: Choose patching materials specifically designed for concrete applications. Generic patching compounds might not offer the necessary strength and durability required for your garage floor, potentially leading to future battles. Opt for concrete-specific solutions for a lasting victory.
- Weather Warriors: Consider the elements! Extreme temperatures or high humidity can affect the drying and curing times of patching materials. Choose materials suitable for the expected weather conditions to ensure proper bonding and a successful repair.
Seek Help When Needed:
- Calling in the Cavalry: Extensive or deep cracks, especially those accompanied by movement or signs of structural issues, require professional evaluation and repair. Don’t hesitate to consult a foundation specialist or experienced contractor.

Bonus Pro Tips:
- Practice Makes Perfect: If you’re unsure about your DIY skills, consider practicing on a small, inconspicuous area of your garage floor before tackling the main cracks. This helps you get comfortable with the tools and materials and ensures a more confident repair.
- Cleanliness is Key: Thoroughly clean the surrounding area of the cracks in addition to the cracks themselves. This removes dirt, debris, and oil, allowing for better adhesion of the patching material and a more durable repair.
- Mind the Moisture: Ensure the crack and surrounding area are completely dry before applying any patching material. Moisture can hinder adhesion and lead to premature failure of the repair. Wait for dry weather or use dehumidifiers if necessary.
- Read the Instructions: Each patching material has specific instructions for mixing, application, and curing times. Carefully read and follow the manufacturer’s instructions to ensure optimal results.
Bonus: If you’re looking for a more decorative touch, consider using colored concrete patches or even incorporating a concrete stain after the repair is complete. Remember, a repaired and well-maintained garage floor not only looks good but also adds value to your property.
So, don’t let those cracks get the best of you! With the right approach and these handy tips, you can transform your garage floor from cracked to fabulous in no time!
Unmasking the Culprits: Why Your Garage Floor Cracks and How to Prevent Them
While a cracked garage floor might seem like an inevitable battle scar, understanding the root causes empowers you to prevent future skirmishes and maintain a pristine battleground. Here are the common culprits behind those pesky cracks.
Foundation Foes
- Shifting Soils: Unstable or poorly compacted soil beneath your garage slab can shift and settle over time, putting stress on the concrete and leading to cracks. Think of it as an uneven foundation weakening your fortress.
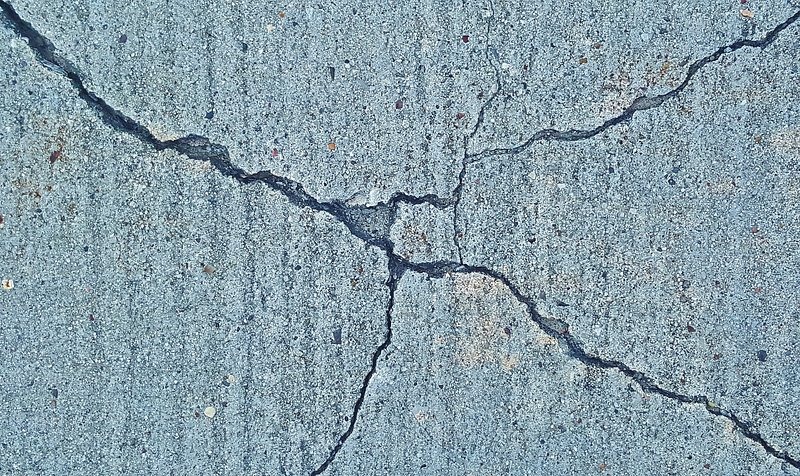
- Moisture Mayhem: Excess water around your foundation due to poor drainage or leaky pipes can saturate the soil, causing it to expand and contract. This movement translates into cracks in your concrete floor, like a relentless enemy chipping away at your defenses.
- Tree Troubles: Aggressive tree roots growing near your foundation can exert pressure on the slab, causing cracks and potential foundation damage. Imagine them as sneaky saboteurs infiltrating your defenses from below.
Concrete Catastrophes
- Improper Installation: Cutting corners during the initial construction can lead to weak spots in the concrete, making it more susceptible to cracking under pressure. Think of it as a poorly built castle wall, vulnerable to even minor attacks.
- Drying Disasters: Rapid drying of the concrete during curing can cause shrinkage and cracking. Imagine the concrete losing its moisture too quickly, leading to internal tensions and ultimately, battle scars.
- Temperature Turmoil: Extreme temperature fluctuations can cause the concrete to expand and contract, putting stress on the material and leading to cracks. Picture your floor battling against the elements, its defenses weakening with each temperature swing.
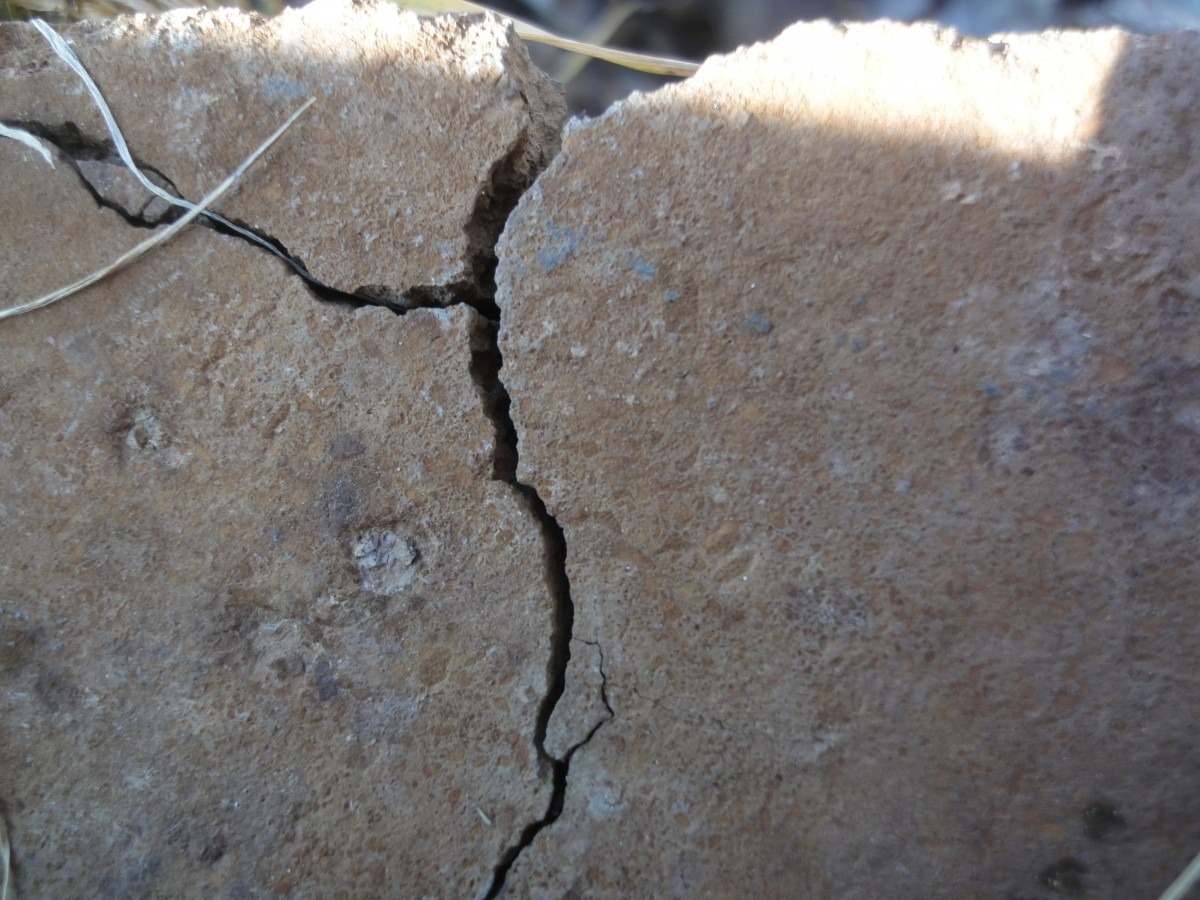
Everyday Exploits
- Heavy Loads: Overloading your garage floor with excessive weight can exceed its design capacity, causing cracks and potential structural damage. Imagine your floor buckling under the pressure of too many heavy knights and their steeds.
- Chemical Attacks: Harsh chemicals like oil, gasoline, or de-icing salts can break down the concrete, making it more prone to cracking. Think of them as corrosive weapons slowly weakening your defenses.
- Impact Injuries: Dropping heavy objects or subjecting the floor to significant impacts can cause localized cracks, like a direct blow to your castle wall.

You may also like: 7 Affordable Garage Tool Chests
Preventing the Onslaught
By understanding these common culprits, you can take proactive steps to prevent cracks in your garage floor:
- Ensure proper drainage around your foundation to avoid moisture issues.
- Maintain a healthy distance between trees and your foundation.
- Hire qualified professionals for concrete installation and follow proper curing procedures.
- Avoid overloading your garage floor and distribute heavy items evenly.
- Clean up spills promptly and protect your floor from harsh chemicals.
- Be mindful of dropping heavy objects and avoid unnecessary impacts.
With this knowledge and preventative measures, you can keep your garage floor crack-free and maintain a strong, resilient fortress for years to come!

