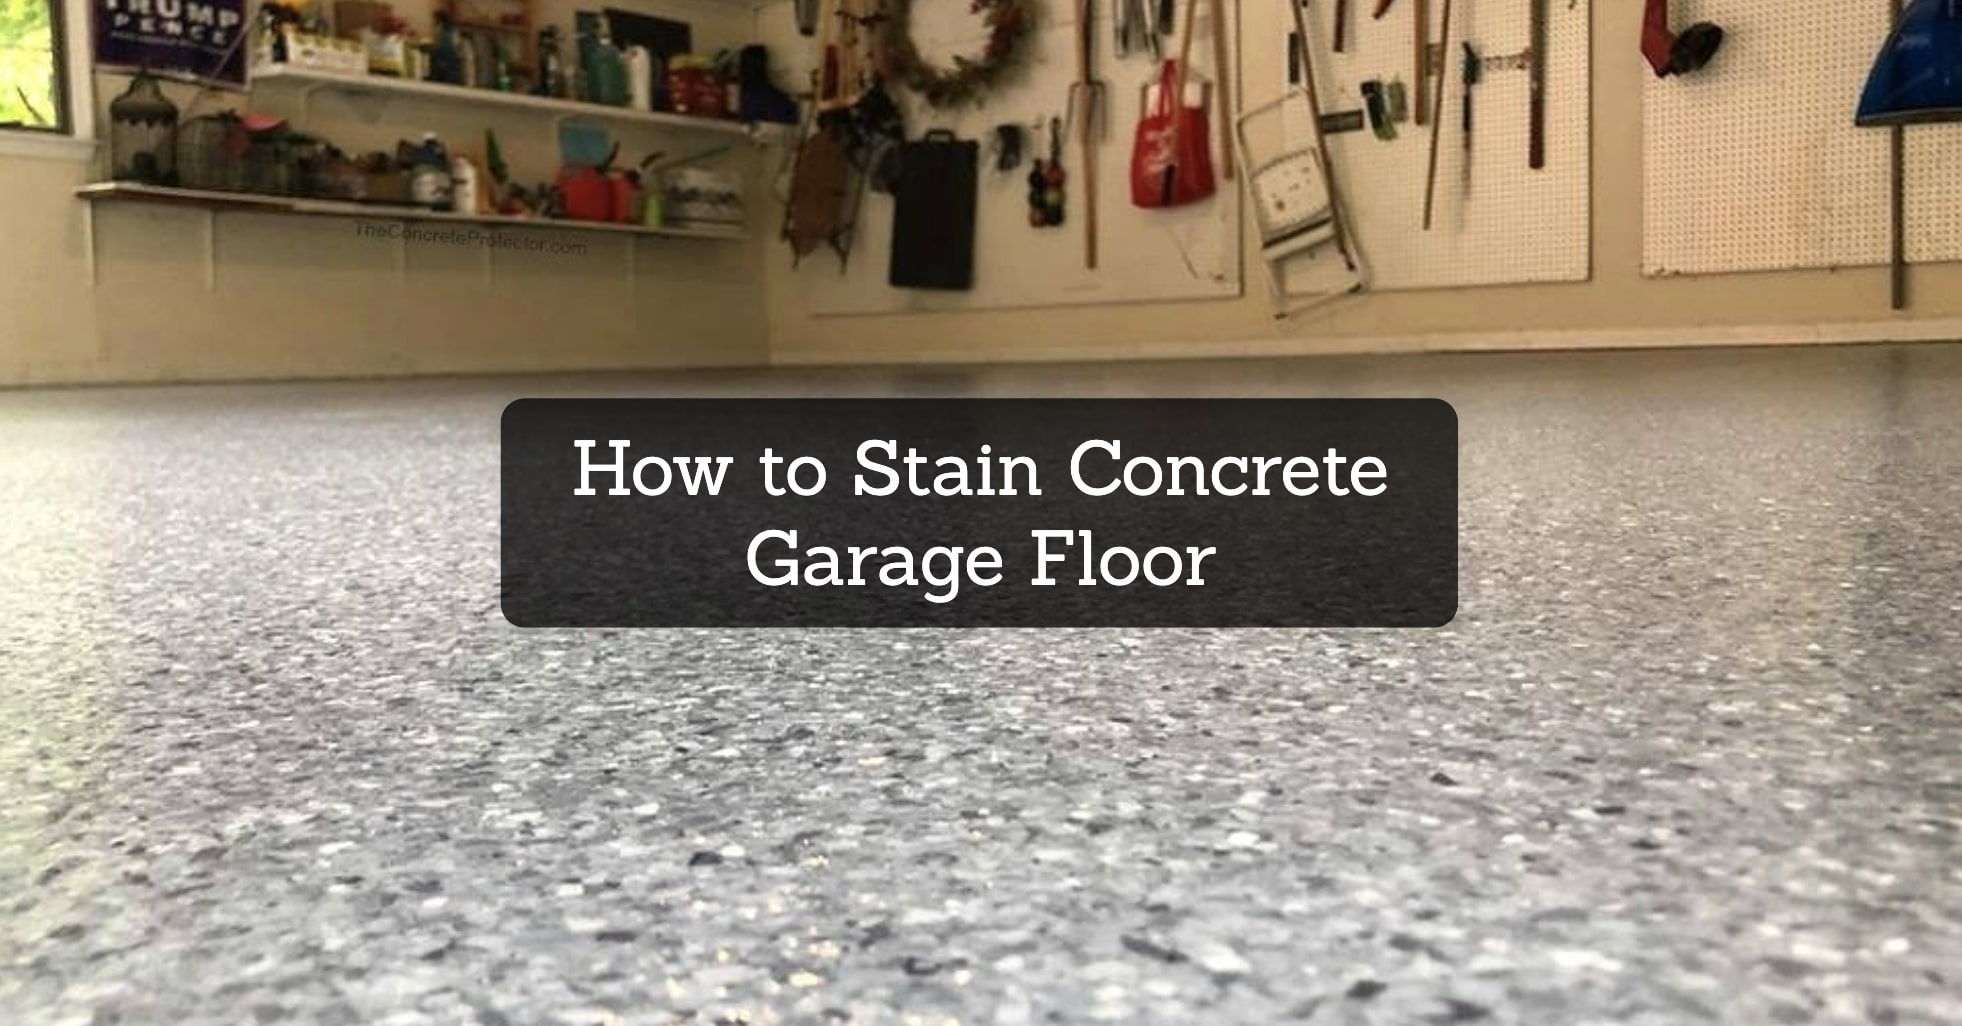
Your garage floor endures a lot – spilled oil, tracked-in mud, and countless trips with heavy tools. While functional, it often lacks the aesthetic appeal you might desire.
Staining your concrete floor is a budget-friendly way to breathe new life into this space, creating a stylish and durable surface. But before you grab the first can of stain, delve into this comprehensive guide to ensure a successful and stunning transformation.
For enhancing the durability and appearance of your garage, consider using waterproof baseboard options, which offer excellent protection against moisture and wear.
Step 1: Prepping is Paramount
The foundation of a beautiful, long-lasting stained concrete floor lies in meticulous preparation. Think of it as transforming a rough canvas into a smooth masterpiece. Here’s how to meticulously prime your garage floor for the staining magic.
The Great Declutter
This isn’t a magic trick, but disappearing furniture, tools, and debris is essential. Treat your garage like a stage, leaving only the concrete floor as the star.
Scrubbing Away the Past
Concrete may seem solid, but it holds onto its fair share of grime. Grab a degreaser specifically formulated for concrete and a stiff brush. Imagine you’re unearthing a hidden treasure beneath layers of dirt and oil.
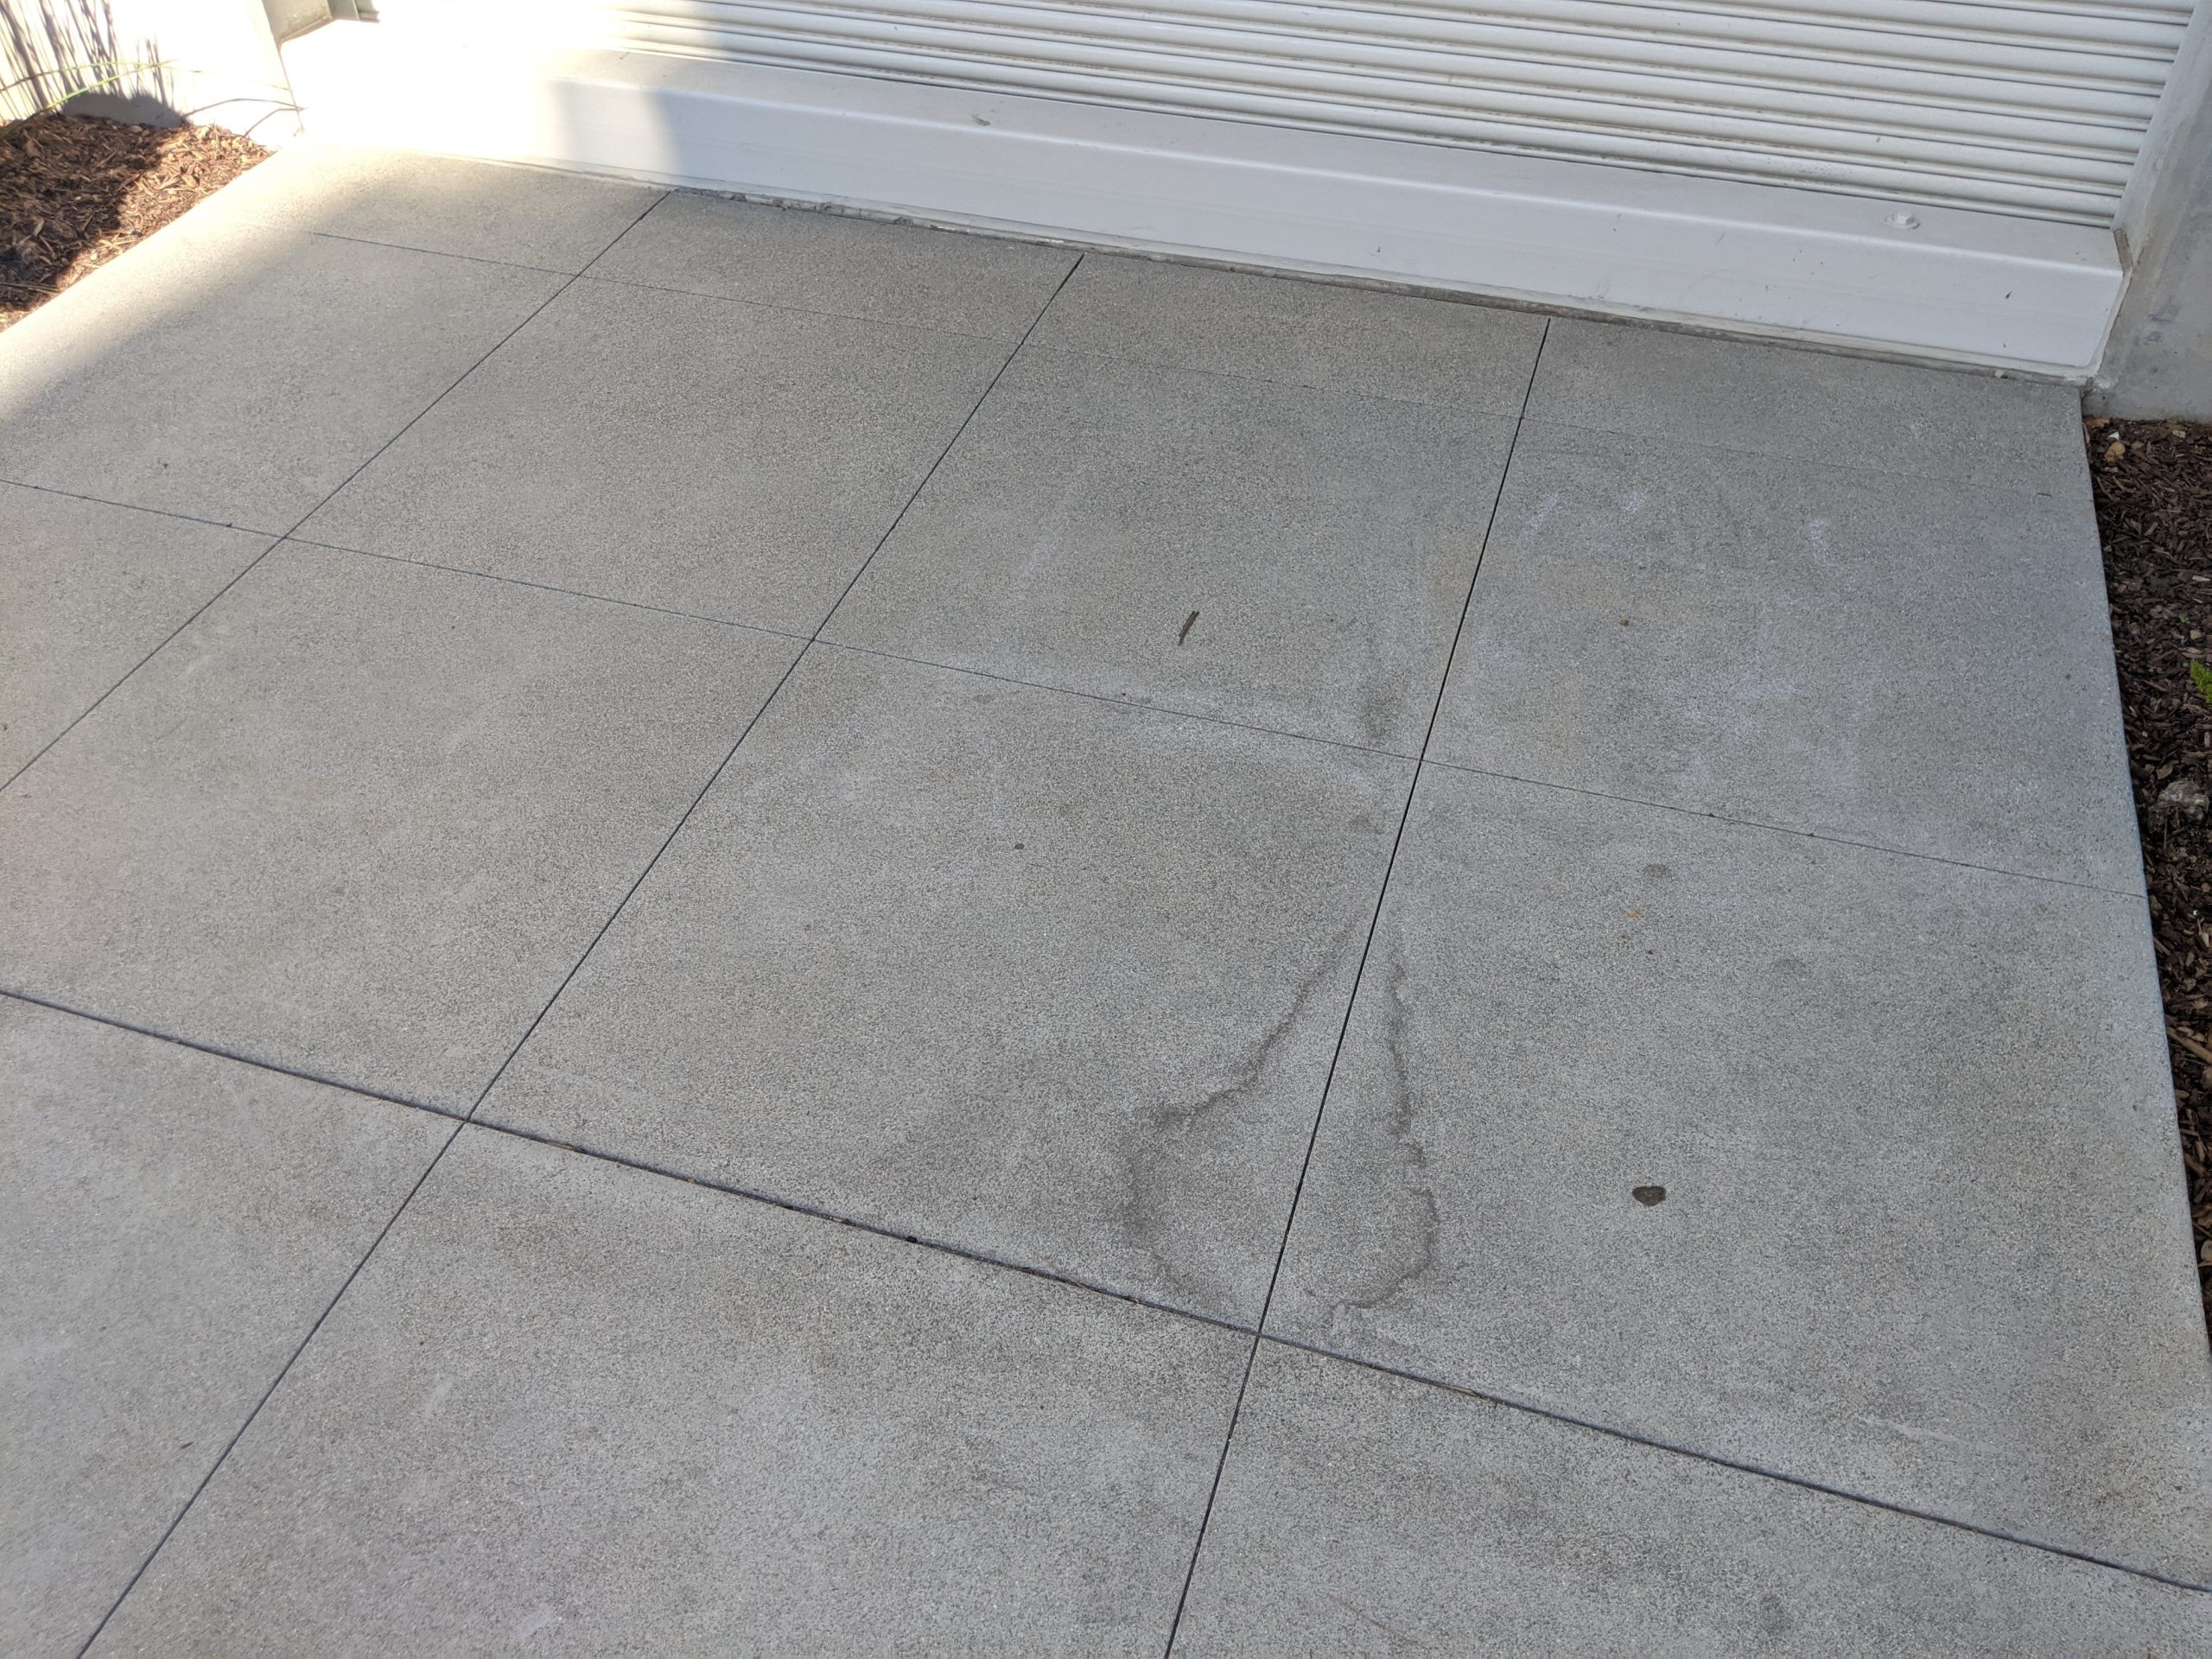
Pay particular attention to stubborn oil stains, using a dedicated oil-absorbing compound if needed. After a thorough scrubbing, rinse well and let the floor dry completely for at least 48 hours. Moisture is the enemy of a good stain, so be patient!
You may also like: 7 Best Laminate Flooring for Garage Reviews
Exposing the Canvas
Laitance, a thin, chalky film that forms on new concrete, needs to go. Enter the concrete etcher, your secret weapon for creating a more absorbent surface.
Choose an etcher appropriate for your concrete’s age and condition, following the manufacturer’s instructions precisely. Remember, this is a chemical reaction, so handle the etcher with care and ensure proper ventilation.
After etching, rinse the surface thoroughly, removing all traces of the etcher and revealing the true potential of your concrete canvas.
Patching Up the Imperfections
Cracks, chips, and holes are unwelcome guests in the staining party. Use a concrete patching compound specifically designed for your type of concrete (garage floors often require heavy-duty patching material).
Apply the patch according to the manufacturer’s instructions, ensuring a smooth, level surface that blends seamlessly with the surrounding concrete.
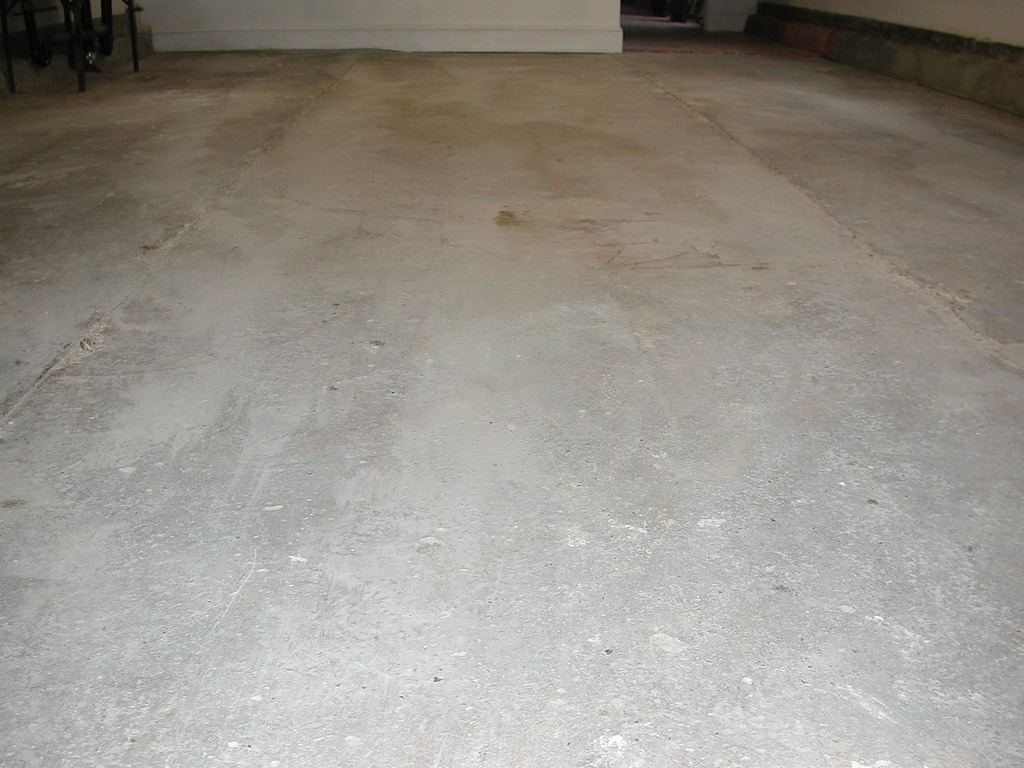
Bonus Tip: Consider renting a floor scrubber for larger areas. It can significantly reduce elbow grease and expedite the cleaning process. Just ensure you use the appropriate pads and cleaning solutions for concrete.
Step 2: Choosing Your Stain Wisely
Selecting the right stain is like choosing the perfect paint – it sets the mood and defines the character of your transformed garage floor. Here’s a deeper dive into the three main contenders:
Acid Stains: The Alchemist’s Touch
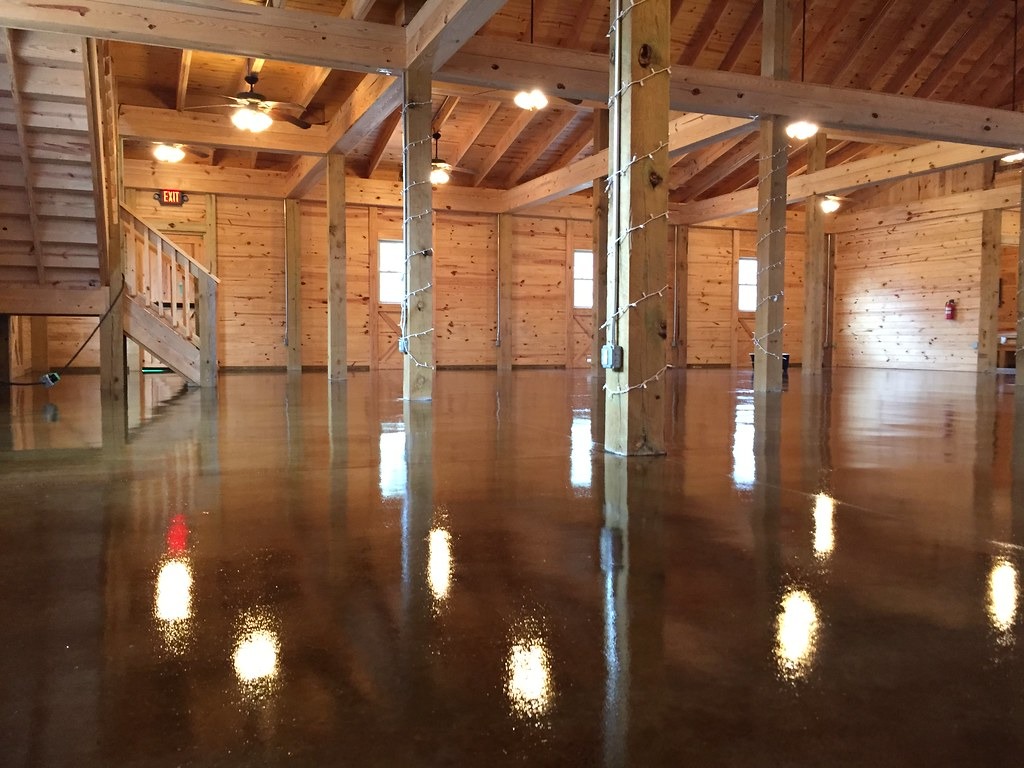
Imagine your concrete floor morphing into a canvas of earthy, variegated tones like amber, copper, and deep brown. That’s the magic of acid stains. They react chemically with the concrete, creating unique, unpredictable patterns that mimic natural stone.
While undeniably beautiful and highly durable, acid stains demand respect. Their acidic nature requires careful handling, proper ventilation, and stringent safety measures. Think of them as the fiery artist, demanding respect but rewarding you with a truly one-of-a-kind masterpiece.
Water-Based Stains: The Friendlier Artist
If the thought of wielding acidic magic makes you pause, water-based stains offer a gentler approach. More user-friendly and readily available, they come in a wider color palette, from bold blues to vibrant reds. Think of them as the versatile artist, offering you greater control over the final look.
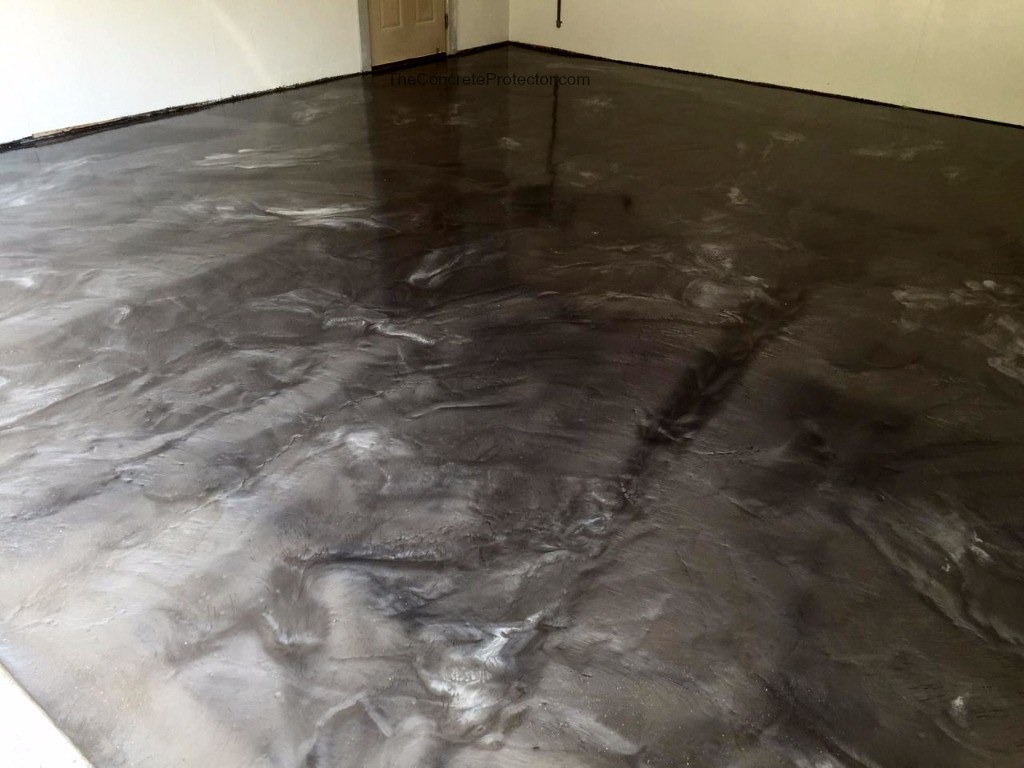
However, their deeper penetration doesn’t quite match acid stains, potentially impacting wear resistance in high-traffic areas. Consider them the reliable friend, bringing color and personality to your garage with a touch less drama.
Solvent-Based Stains: The Bold Statement
Seeking richer, more intense colors with deeper penetration? Solvent-based stains might be your answer. Similar in ease of use to water-based stains, they offer a captivating depth of color, ideal for creating dramatic statements.
However, remember that their bold personality comes with a price – VOC emissions require stricter ventilation practices and responsible handling. Think of them as the daring artist, pushing boundaries with vibrant hues but demanding extra care and attention.
You may also like: 7 Best Black Garage Floor Paint Reviews
Step 3: Staining Magic – Apply with Precision
Now comes the moment of truth – bringing your chosen stain to life and transforming your garage floor. Remember, meticulous preparation is only half the battle; precise application is where the magic unfolds. Here’s your guide to wielding the staining brush with confidence:
The Sneak Peek
Before committing to the entire canvas, conduct a “mini-masterpiece” test. Apply the stain to a small, inconspicuous area, preferably near a corner or behind a storage unit.
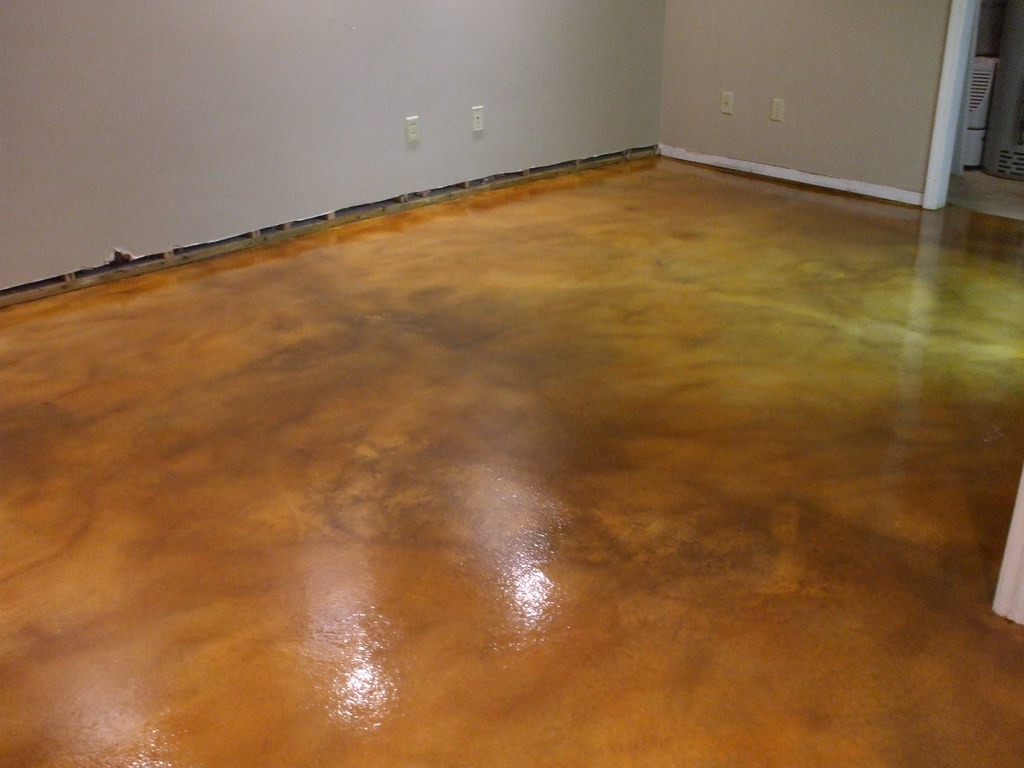
This allows you to witness the stain’s reaction to your specific concrete, ensuring the color aligns with your vision. Observe any unexpected variations or undertones – forewarned is forearmed!
Armor Up
Safety first! Don your protective gear like a warrior preparing for battle. Sturdy gloves shield your hands, safety glasses safeguard your eyes, and a respirator (especially crucial for acid stains) ensures you breathe easy. Proper ventilation is key – open those garage doors and windows to let the fresh air circulate.
The Staining Dance
Now for the artistic expression! Choose your weapon of choice – a sprayer for even coats, a brush for detailed control, or a roller for larger areas.
Work in manageable sections, maintaining a “wet edge” by applying the stain onto areas bordering already stained sections before they dry. This minimizes visible overlaps and ensures a seamless finish.
Apply multiple thin coats instead of one thick one – it grants better control and allows the color to build gradually, preventing blotches and unevenness.
The Acidic Neutralizer (for Acid Stains Only)
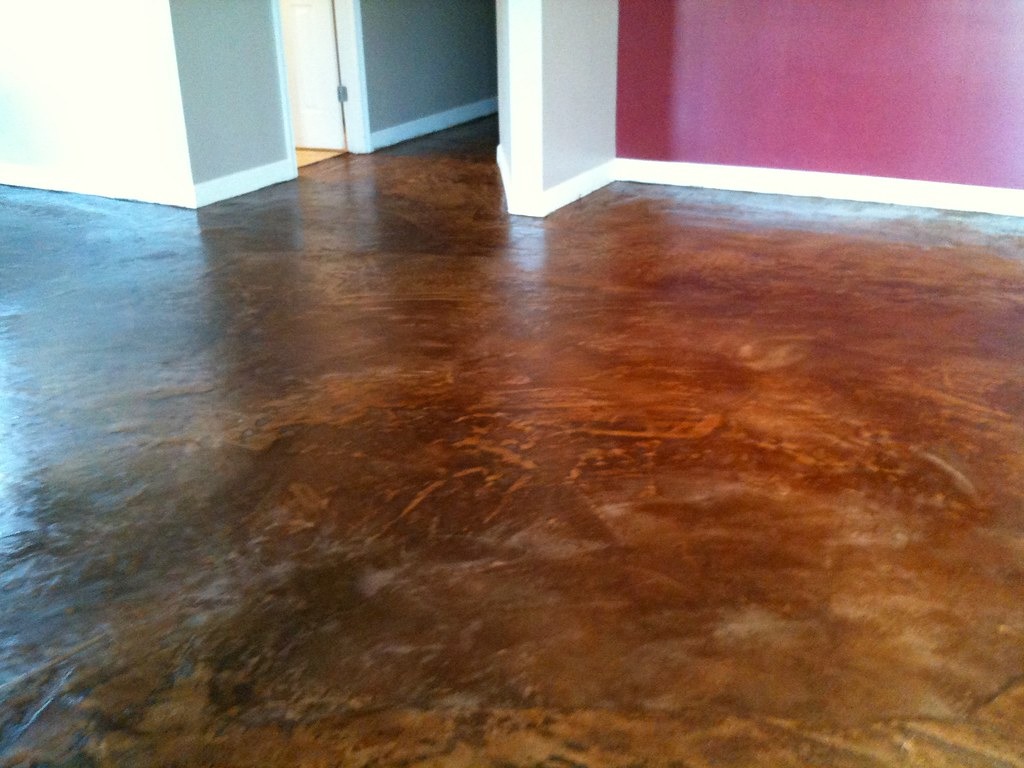
If you’re wielding the power of acid stains, remember the final step – neutralization. After the designated reaction time specified by the manufacturer, apply a neutralizing solution to halt the chemical process and prevent any adverse effects. Rinse the neutralized area thoroughly to remove any residue.
Bonus Tip: Channel your inner artist! Don’t be afraid to experiment with layering techniques or applying the stain in a non-uniform manner to create a more natural, variegated look.
Step 4: Sealing the Deal – Protect Your Creation
The final brushstroke isn’t the stain itself, but the protective layer that shields your artistic creation. This is where the concrete sealer steps in, acting as a valiant knight guarding your stained masterpiece from wear, tear, and the elements.
Choosing the Right Shield
Sealer options abound, so pick your champion based on your desired finish and level of protection. Here are your knights in shining armor:
- Matte Sealer: For a natural, understated look, choose a matte sealer. It subtly enhances the stain’s color while providing excellent protection against everyday wear and tear.
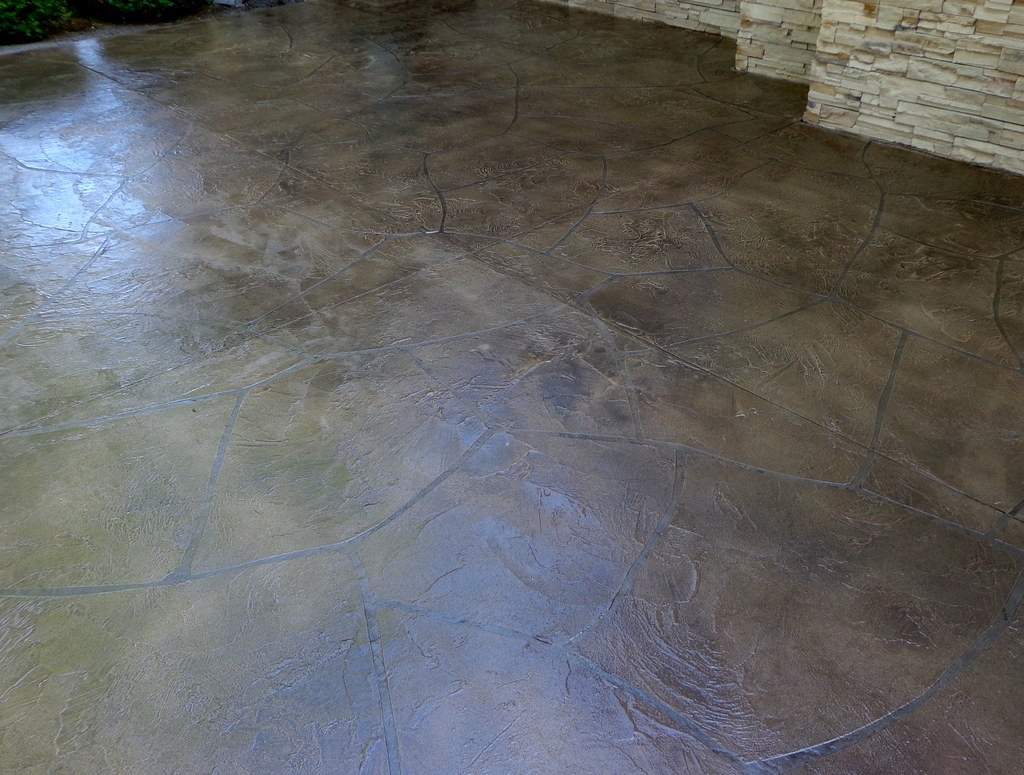
- Satin Sealer: Seeking a touch of elegance? A satin sealer offers a subtle sheen, highlighting the stain’s depth and richness while maintaining a practical level of protection.
- High-Gloss Sealer: Want to make a bold statement? High-gloss sealers create a mirror-like finish, amplifying the stain’s vibrancy and reflecting light for a dramatic effect.
Applying the Shield
Once your stain is completely dry (consult the product’s drying time!), it’s time to don your applicator of choice – a brush, roller, or sprayer. Apply multiple layers according to the manufacturer’s instructions, allowing each coat to dry completely before proceeding.
Bonus Tips for a Flawless Finish
- Temperature Matters: Your concrete needs the right temperature for optimal sealing. Ideally, aim for a range between 50°F and 85°F to ensure proper application and drying.
- Spills Happen: Accidents are inevitable, but don’t fret! Immediately address any spills with a damp cloth before they set and potentially damage your beautiful finish.
- Celebrate Your Creation: Stand back and admire your handiwork! You’ve transformed your garage floor from a blank canvas into a space that reflects your personality and adds value to your home. Bask in the satisfaction of a job well done, and enjoy using your newly stained and protected masterpiece!
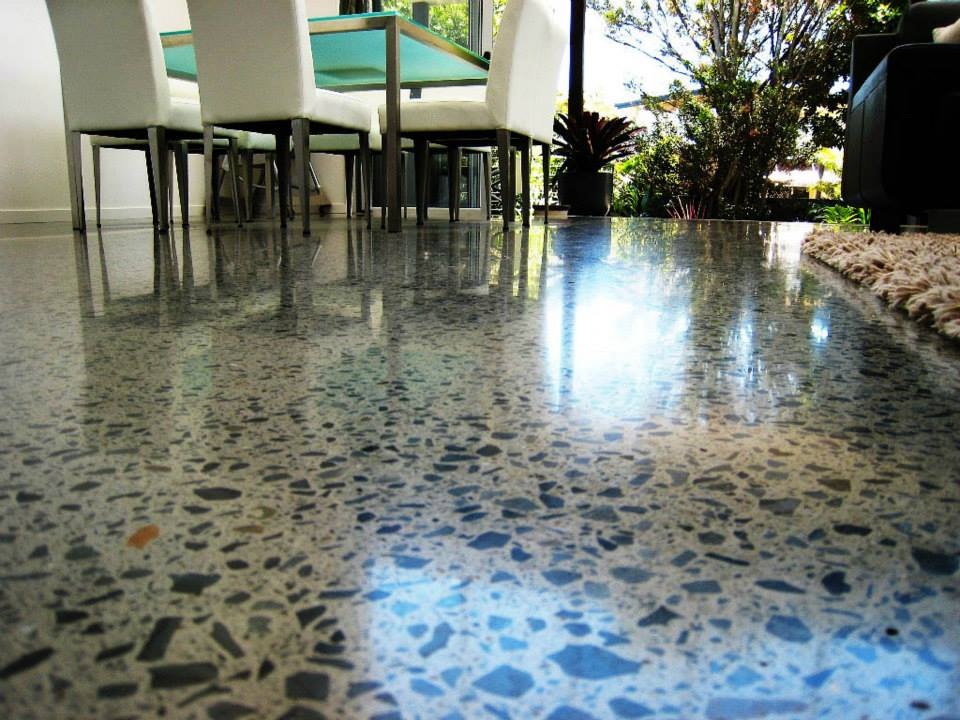
Remember, staining your concrete floor requires careful preparation, attention to detail, and the right products. With this guide and a little elbow grease, you can transform your garage into a space that reflects your personality and adds value to your home.
You may also like: 7 Best Garage Floor Containment Mats for Winter
Maintaining the Magic: Cleaning Your Stained Concrete Garage Floor
Your newly stained garage floor shines with beauty and personality, but don’t forget, even masterpieces need upkeep. Here’s your guide to maintaining the pristine look and protecting your artistic investment:
Regular Sweeping
The enemy of any floor is dirt and debris. Regularly sweep your garage floor with a soft-bristled broom to remove loose particles that could scratch or dull the stain. Consider using a dustpan specifically designed for concrete floors to minimize dust clouds.
Mopping Matters
For deeper cleaning, mopping is key. Dilute a mild, pH-neutral cleaner specifically formulated for concrete in a bucket of warm water. Avoid harsh detergents or acidic cleaners, as they can damage the sealer and stain.
Mop the floor using a microfiber mop, ensuring it’s well-wrung to avoid excess moisture. Rinse the mop frequently and change the cleaning solution as needed. Allow the floor to dry completely before using the garage again.

Seasonal Touch-Ups
Depending on your climate and usage, periodic touch-ups might be necessary. If you notice areas with fading or wear, consider applying a light coat of the same sealer you used initially.
Beyond the Basics
- Floor Mats: Placing floor mats near entryways and under work areas can trap dirt and moisture before they reach the stained floor.
- Tire Care: Ensure your tires are clean before entering the garage, as dirt and grime can easily track onto the floor.
- Salt Alternatives: During winter, opt for de-icing solutions formulated for concrete and avoid using rock salt, which can damage the stain and sealer.
By following these simple cleaning and maintenance tips, you can ensure your stained concrete garage floor retains its beauty and functionality for years to come.
Bonus Point! Garage Floor Showdown: Stain vs. Paint – Choosing Your Champion
Transforming your garage floor is exciting, but the big question arises: Stain or paint? Both offer distinct advantages and drawbacks, and the ideal choice depends on your goals, budget, and desired aesthetic. Let’s enter the ring and analyze each contender.
Round 1: Appearance
- Stain: Embraces the natural texture of concrete, enhancing its depth with translucent color. Offers a unique, variegated look with earthy tones.
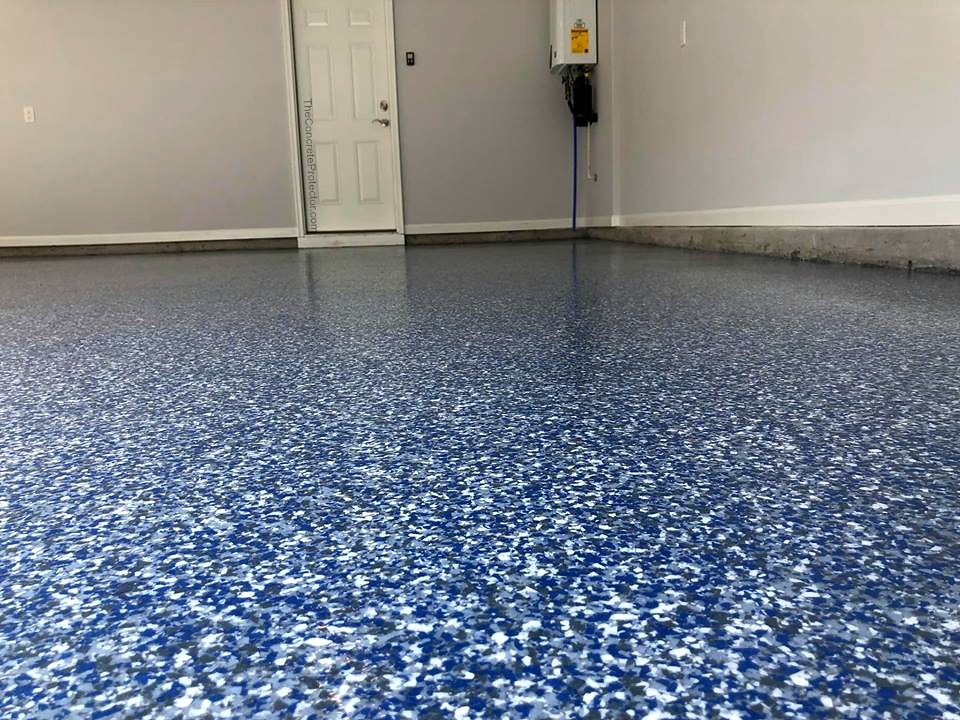
- Paint: Creates a solid, opaque color, hiding imperfections and providing a wider color palette. Offers a more uniform and modern aesthetic.
Round 2: Durability
- Stain: Penetrates deep into the concrete, offering excellent long-term durability with proper sealing. Resistant to chipping and peeling.
- Paint: Forms a surface layer, making it susceptible to chipping or peeling, especially in high-traffic areas. Requires regular touch-ups.
Round 3: Maintenance
- Stain: Requires regular cleaning with a pH-neutral cleaner and periodic resealing depending on wear and tear.
- Paint: Typically easier to clean with a damp mop and mild detergent. May require reapplying paint in high-traffic areas.
Round 4: Application
- Stain: Can be more challenging to apply, requiring proper preparation and potentially multiple coats for even coverage. Acid stains demand extra caution due to their chemical nature.
- Paint: Generally easier to apply, often requiring just one or two coats. Water-based paints offer an easier cleanup compared to solvent-based ones.
Round 5: Cost
- Stain: Typically more affordable than paint, especially considering the cost of multiple coats and potential need for sealers.
- Paint: Can range in price depending on quality and chosen finish. High-performance paints tend to be more expensive.
You may also like: 7 Best Steel Garage Trench Drains
The Final Verdict
There’s no clear winner in this battle, as the champion depends on your individual needs and preferences. Consider these factors:
- Desired look: Crave a natural, earthy aesthetic? Stain is your warrior. Seeking a bold, uniform color? Paint takes the crown.
- Durability needs: High-traffic garage? Stain’s long-lasting nature might be your knight in shining armor.
- Budget constraints: Stain often delivers more bang for your buck.
- DIY comfort level: More comfortable with meticulous preparation and potentially tricky application? Stain might be your match. If easy application is key, paint might be your champion.
Both stain and paint can create beautiful and functional garage floors. Weigh the pros and cons, consider your priorities, and choose the contender that aligns best with your vision and needs. With the right information and a little effort, you can transform your garage floor into a space that reflects your personality and adds value to your home!

